July 30, 2025
[How to take photos of the ocean] Tips for taking photos ranging from the beautiful and vast ocean to impressive portraits
[How to take photos of the ocean] Tips for taking photos ranging from the beautiful and vast ocean to impressive portraits
![[How to take photos of the ocean] Tips for taking photos ranging from the beautiful and vast ocean to impressive portraits [How to take photos of the ocean] Tips for taking photos ranging from the beautiful and vast ocean to impressive portraits](/global/consumer/article_file/file/article-how-to-take-sea-photos08.webp)
![[How to take photos of the ocean] Tips for taking photos ranging from the beautiful and vast ocean to impressive portraits [How to take photos of the ocean] Tips for taking photos ranging from the beautiful and vast ocean to impressive portraits](/global/consumer/article_file/file/article-how-to-take-sea-photos08.webp)
When photographing the ocean, it is important to keep a few points in mind in order to capture the majestic scale and ever-changing expressions of light. In this article, we will explain everything from basic knowledge to practical tips for photographing the ocean, from seascape photos to portraits with the ocean as a backdrop, and dramatic sunrise and sunset scenes.
Tips for taking beautiful ocean photos
There are a few points to keep in mind when capturing the vastness of the ocean beautifully. First, learn some basic tips and then try taking some photos of the ocean.
Use wide-angle or ultra-wide-angle lenses
To capture the grandeur of the ocean, it's a good idea to use a wide-angle lens. Using a wide-angle lens allows you to capture the ocean's grand scale and expanse in a single photo. Including the foreground to the horizon will emphasize the sense of perspective and realism, giving the impression that you are there. If possible, use an ultra-wide-angle lens to capture the vast ocean scenery with a full sense of scale.
Balance the horizon
If the horizon is tilted, even a beautiful ocean photo will look unbalanced. Use your camera's grid line or spirit level to keep it level.
The placement of the horizon also changes the impression of the photo. For example, placing it about 1/3 of the bottom of the screen will give a sense of stability. Conversely, if you want to emphasize the expanse of the ocean, placing the horizon at the top of the screen will create an impressive sense of depth.
Use composition to emphasize the subject
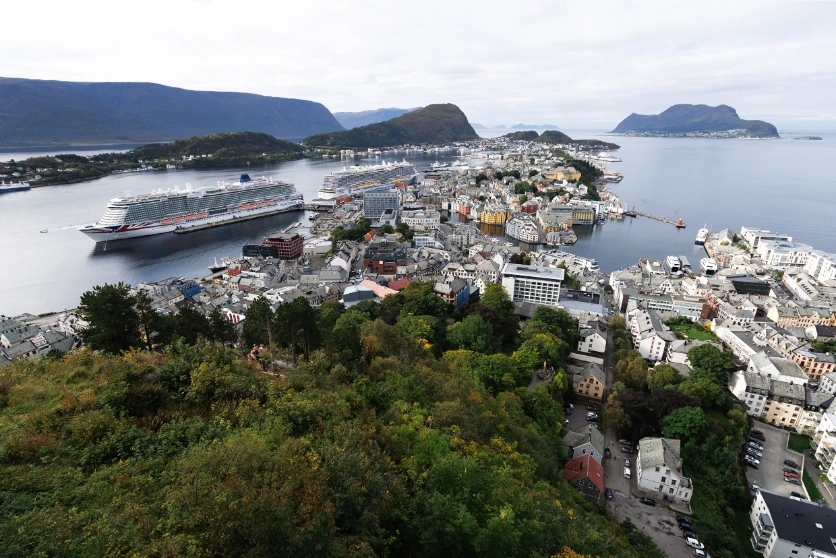
The impression of the ocean also changes depending on how you compose your shot. For example, if you want to achieve an overall sense of stability and balance, it's a good idea to use a rule of thirds or a rule of fourths. Also, if you use a diagonal composition, the coastline will naturally guide your gaze into the depths of the ocean, giving a sense of depth and dynamism. The angle and position of the camera are also important; shooting at a low angle will create a powerful composition, while shooting from a high position will give you a view of the entire ocean.
Incorporating elements other than the sea
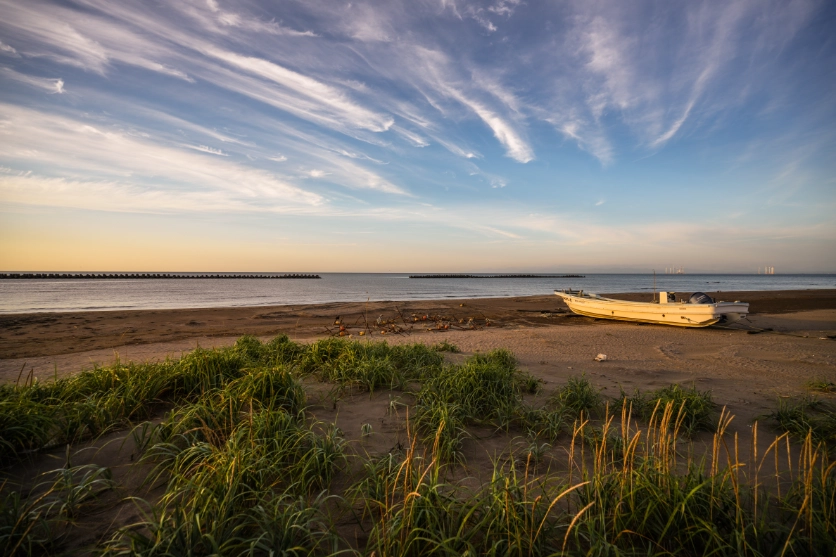
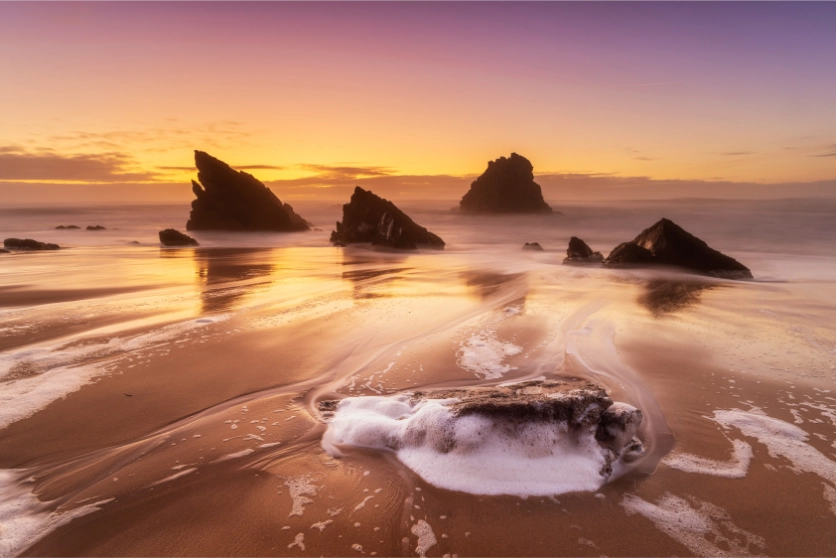
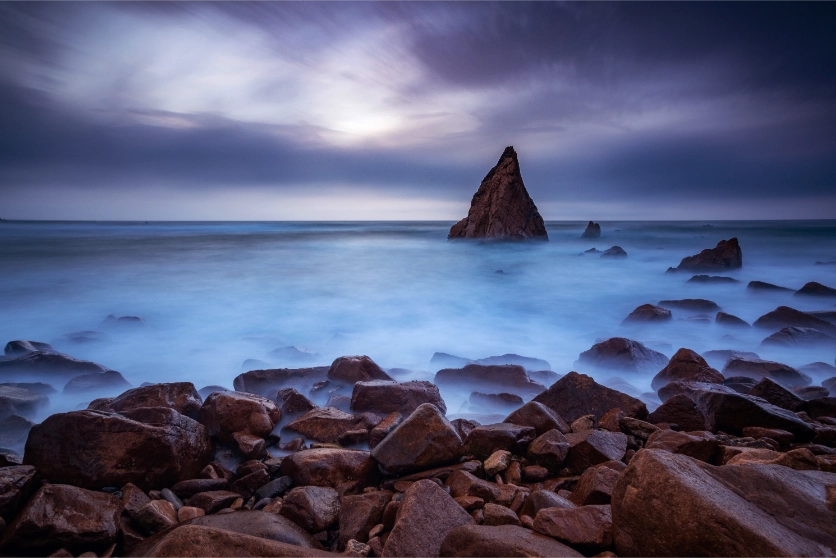
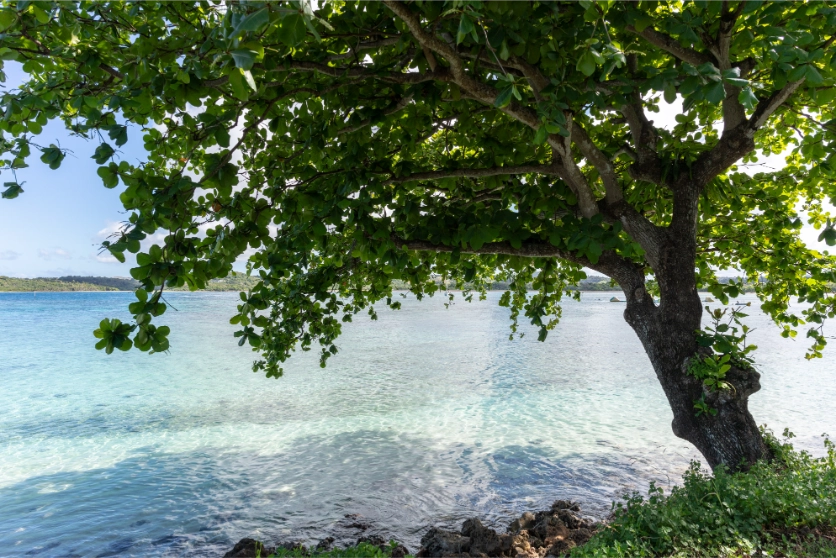
In addition to focusing on the ocean as the main subject, placing sub-subjects such as rocks and driftwood in the foreground will add a sense of depth and three-dimensionality to the photo. These non-ocean elements can be used in a variety of ways; for example, placing footprints left in the sand or seashells in the foreground will create a story-telling photo.
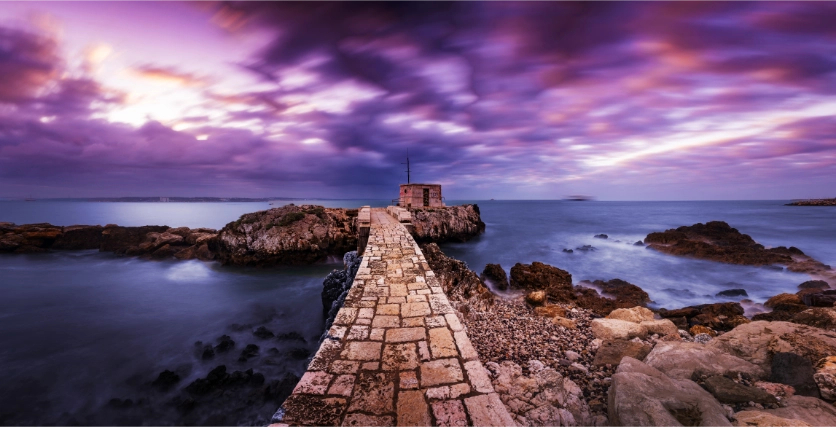
Also, incorporating man-made objects such as ships and lighthouses into the composition will create a contrast with the vastness of the natural world of the ocean, giving it a dramatic impression. Ocean photos tend to be monotonous, but by effectively arranging various elements, you can add accents and draw the eye.
Create contrast with bold moves
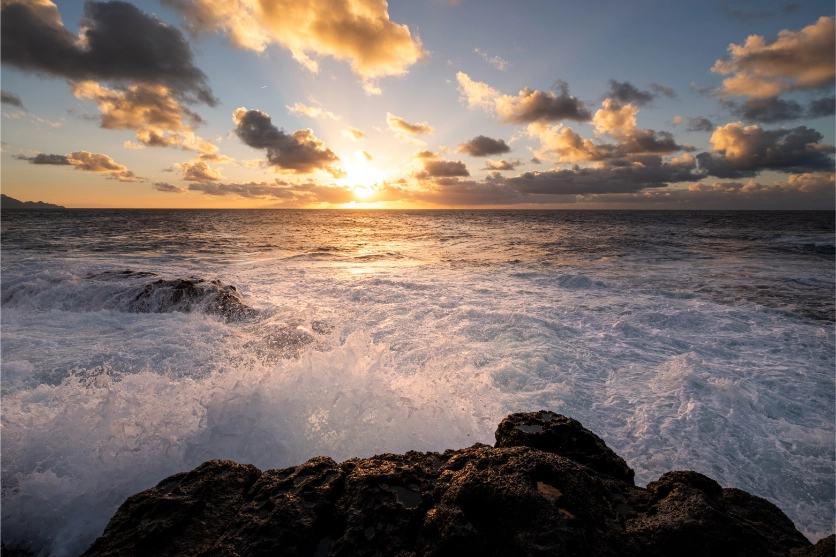
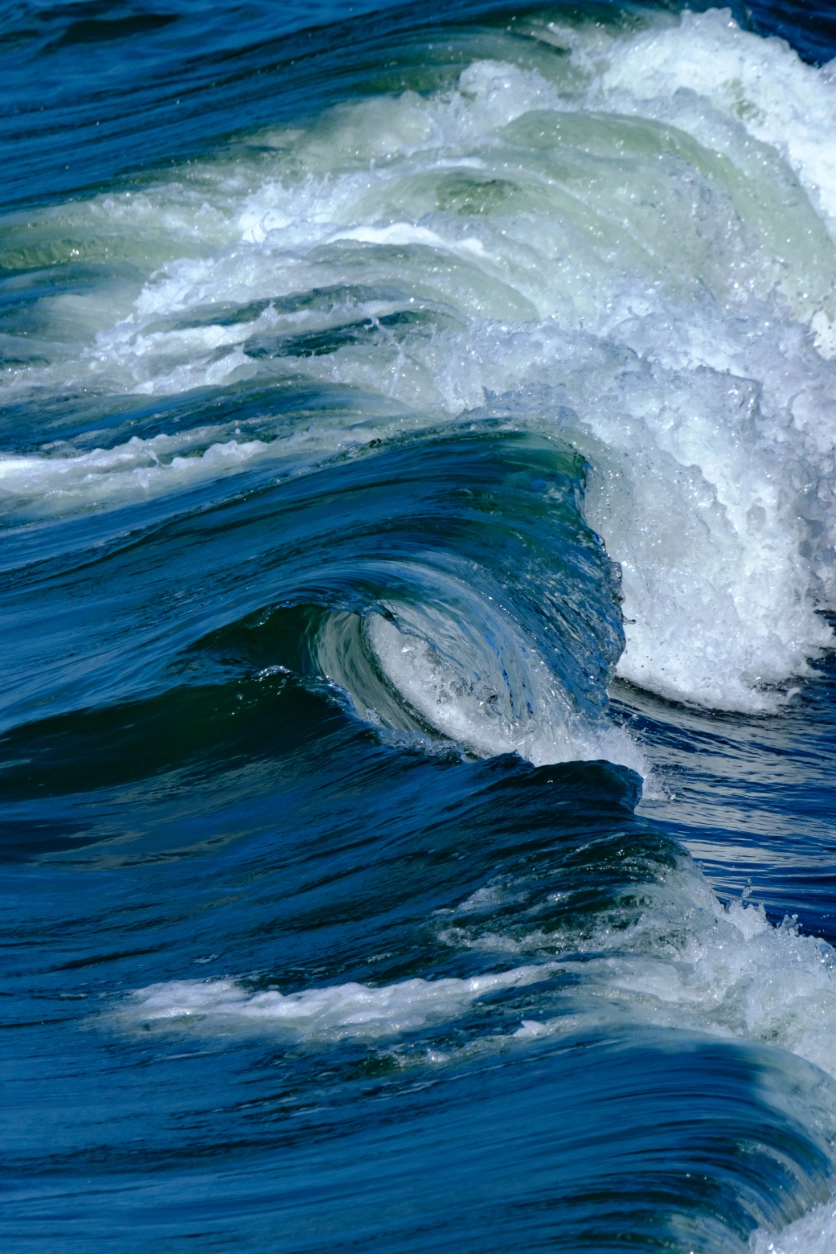
Taking advantage of close-up shots is also important when it comes to adding contrast to your photos. For example, taking a close-up shot of waves will help you express the power and transparency of the splashes of water.
On the other hand, a wide-angle shot will allow you to capture natural scenery like a painting, such as the gradations of the ocean as a whole, the sandy beach, and the contrast with the sky. You can also use a telephoto lens to take a close-up shot of a distant island or boat, which will create a compression effect that will create an impressive shot.
Differences in impression depending on the direction of light
The direction of the light is also an element that can change the expression of the ocean. Shooting with front lighting will bring out the ocean's colors vividly, making it easy for even beginners to take beautiful photos.
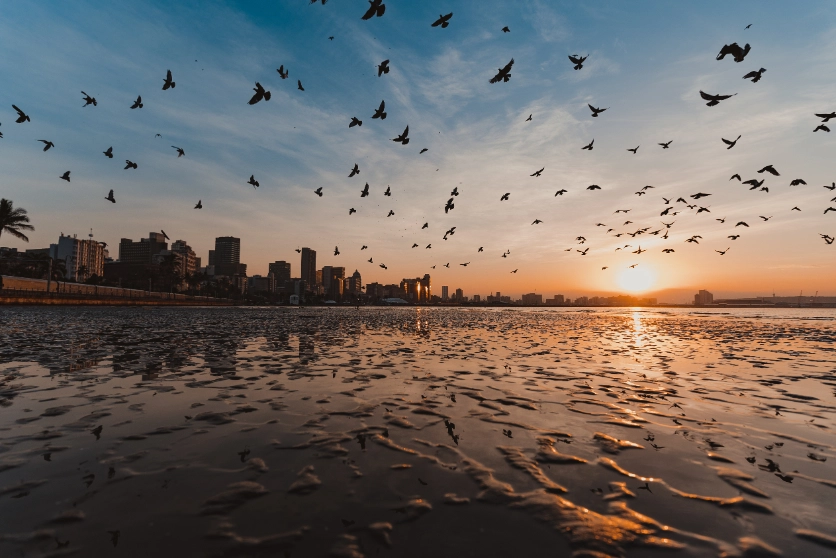
If you want to capture the sparkling ocean or a silhouette with the ocean as a background, it is a good idea to use backlighting.
Also, if you want to depict the three-dimensional effect of the waves or the texture of the ocean's surface, using side light will create shadows and emphasize the three-dimensional effect.
Capturing the different expressions of the sea depending on the time of day
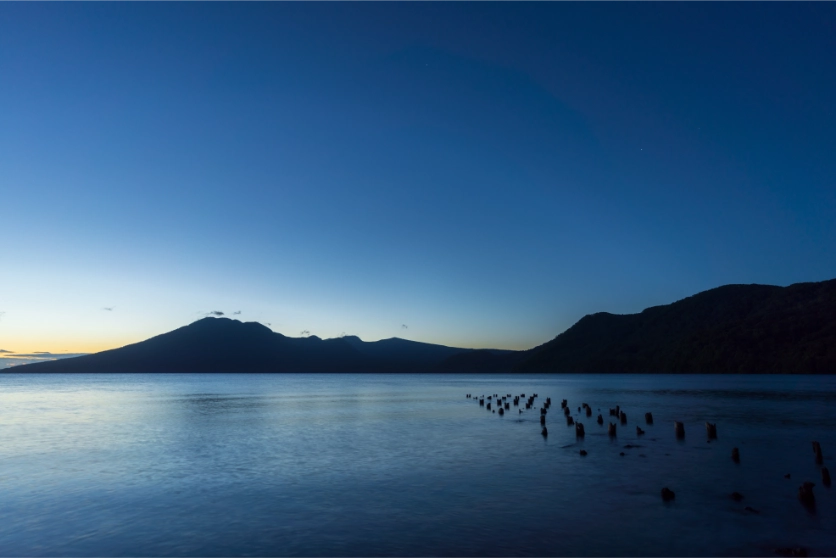
Changes in sunlight depending on the time of day directly affect the impression your ocean photos give. For example, taking photos at dawn will allow you to capture the clear, mysterious deep blue of the ocean. On the other hand, a sunrise photo will result in an artistic work in which the sunlight paints the water's surface golden.
Also, during the magic hour before sunset, the beautifully changing gradation of light will give the ocean a fantastical atmosphere. By taking photos at different times of day, you can bring out the diverse charms of the ocean.
Exposure setting tips
When photographing the sea, the brightness and color change depending on the time of day and weather, so it's a good idea to be able to change the exposure settings to suit the situation. Here, we'll look at the basic exposure settings that are suitable for photographing the sea.
Shooting Mode
First, try shooting in aperture priority mode while adjusting the F-number (aperture). This will make it easier to adjust the focus while adjusting the bokeh. If you want to freeze the waves or capture a flowing image, the shutter speed setting is important, so try adjusting it in shutter speed priority mode. Once you
get used to shooting, try manual mode. Manual mode will make it easier to capture the image you're aiming for, especially in scenes where the light intensity changes easily, such as sunrises and sunsets.
The F-number should be slightly narrowed
When photographing seascapes, narrowing the aperture to around F8 to F11 will allow you to take photos with the entire scene in focus, from the foreground to infinity. This will allow you to capture everything from the subject in the foreground to the distant horizon in sharp focus.
On the other hand, for portraits with the sea as a background, using an F-number close to maximum aperture will beautifully blur the sea in the background, emphasizing the subject. As such, it is important to use different aperture values depending on the image you want to capture.
Shutter speed can be flexible depending on the scene
If you want to freeze the movement of the waves, you will need a shutter speed of 1/250th of a second or faster. On the other hand, if you use a slow shutter speed of 1 to 4 seconds, you can capture the waves as if they are flowing smoothly.
Also, if you want to photograph a starry sky at night at the ocean, you will need a long exposure using a tripod. As with the F-number, the appropriate shutter speed setting will vary depending on the photo and subject you want to capture, so be flexible in changing the settings as you shoot.
ISO
Generally, there is no problem with setting the ISO sensitivity to auto. A good guideline is ISO100 to ISO200 on a sunny day, and ISO400 to ISO800 on a cloudy or twilight day. On sunny or slightly cloudy days, you can often take pictures with sufficient brightness even with a lower ISO sensitivity, but at dawn or sunset, you may need to increase the ISO sensitivity to ensure exposure.
Exposure compensation
When shooting on a sunny day, the light reflected from the surface of the sea or the white sand on a beach can easily cause overexposure, so adding negative exposure compensation as necessary can be effective. On the other hand, when shooting against the light, the subject may appear crushed in the shadows, so try adding positive exposure compensation.
Adjust the white balance to your liking
We recommend shooting with auto white balance to begin with. However, if you want to emphasize the expression of your work, try adjusting the white balance to your liking.
A warm color setting will give the sea a warmer impression. Conversely, a cool color setting will create a cool, refreshing atmosphere. When photographing sunrises and sunsets, adjusting the white balance will allow you to enjoy more impressive color expression.
[By scene] How to take beautiful photos of the ocean
From here, we will explain how to shoot specific scenes. Let's take a look at various examples, from landscape photos to portraits.
A vast ocean view unfolds before your eyes
When taking seascape photos, aim to convey a sense of grand scale. If possible, use a wide-angle lens that covers the ultra-wide angle range to capture the entire landscape. Try placing the horizon low to create a sense of the expanse of the sky and the scale of the sea. Also, as mentioned above, by incorporating natural elements such as rocks and vegetation in the foreground, you can create a composition that gives depth and a sense of three-dimensionality to your photo.
Coastline and beach curves
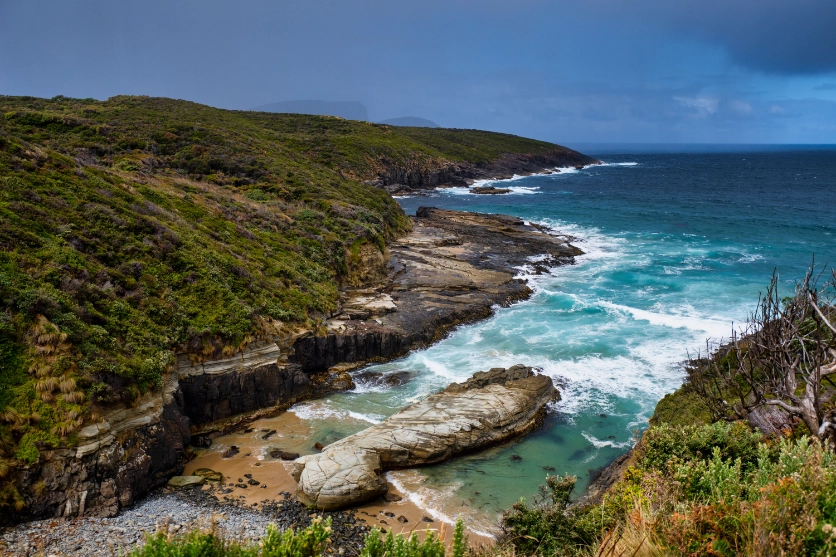
By placing the coastline or beach in a diagonal line, you can express the beauty of nature with a sense of depth. If you want to emphasize the sense of scale, shooting from a low angle will create the undulating beach and a sense of depth. At the same time, by incorporating details in the foreground, such as footprints, wave marks, or driftwood, you can create a more impressive composition.
Wave Detail
Adjusting the shutter speed is important to capture the exact moment when the waves break up. A shutter speed of 1/250 to 1/500 seconds or faster will allow you to freeze the waves in your photo. Furthermore, using a macro or telephoto lens will allow you to capture the beauty of the fine bubbles and droplets of water. Try using the continuous shooting mode to capture the exact moment when the waves break or the water splashes into the air.
Sparkling sea
To capture the sparkling light on the sea surface, try shooting in backlight or semi-backlight during the day when the sun is reflecting off the surface of the ocean. By narrowing the F-number, the rays of light will be more clearly visible, making the reflections on the ocean surface more beautiful. You can also make the light stand out by setting the exposure slightly under.
Impressive portraits
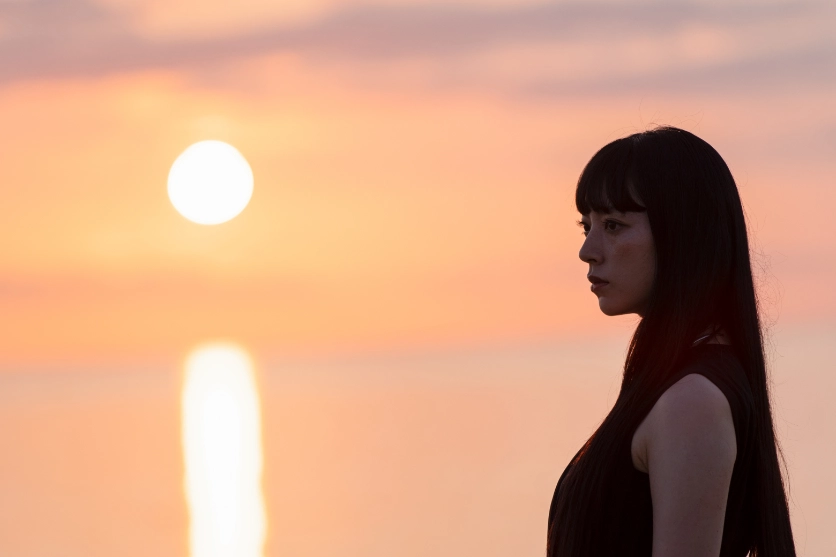
Using a standard or telephoto lens to incorporate the ocean into the background blur will emphasize the impression of the person. Use an F-number close to maximum aperture to create a large background blur. A simple background will make the impression of the person stand out.
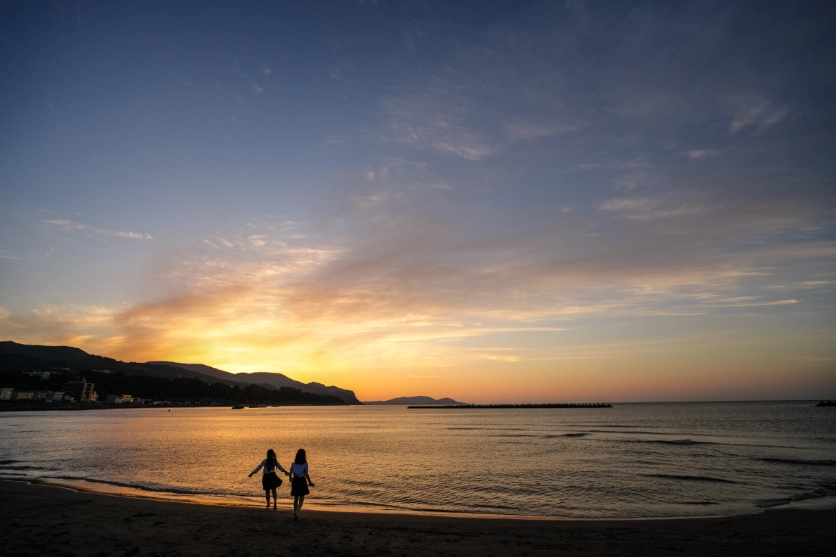
Also, when shooting two or more people, you can create a stable impression by being conscious of diagonal or triangular compositions. Also, shooting a backlit silhouette with the ocean sunset in the background can create an emotional atmosphere.
Pets and dogs
When photographing your pet at the sea, try holding the camera at a low position to match your pet's line of sight and shooting at a horizontal, low angle to create a sense of unity with the sea. Shoot your pet running in continuous shooting mode to capture its lively expression. Also, by using a medium telephoto focal length, you can capture a natural expression while incorporating the sea as a blurred background, making your pet's expression stand out.
Magic Hour
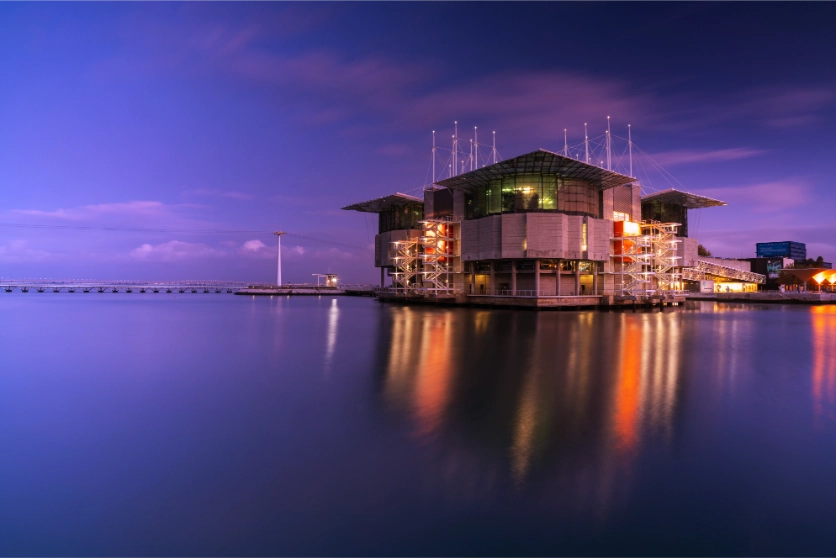
The magic hour is one of the best times to capture the beauty of the sea. Try shooting during the period between 30 minutes before sunrise and about an hour after sunrise to capture the changing colors. If you are unable to capture the gradation or contrast well, you can capture beautiful colors and gradations while adjusting the exposure in manual mode. You can also capture an emotional atmosphere by shooting the silhouettes of people or buildings during this time.
Starry sky and sea
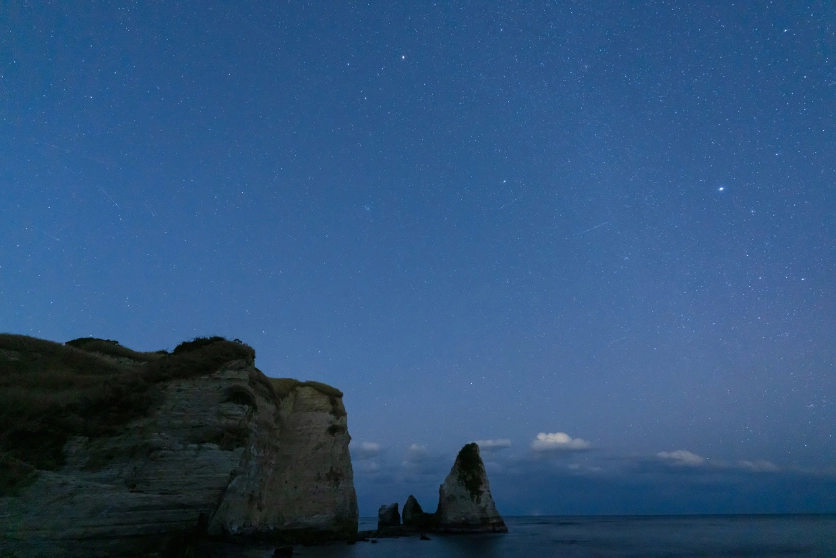
The contrast between the night sea and the starry sky creates a fantastical piece of work. Use an ultra-wide-angle lens and include the coastline or rocks in the foreground to create depth. Long exposure using a tripod will allow you to capture the stars in great detail.
As an applied technique, you can create a more fantastical impression by composing a shot at the water's edge with the horizon in mind and using a slow shutter speed to capture the movement of the waves.
How to choose the right lens for ocean photography
Here we will explain in detail the characteristics of lenses suitable for photographing the sea and how to choose them. The best lens to choose will vary depending on the image you want to capture, but please use this as a basic reference.
Focal length and angle of view
As we have repeatedly explained, wide-angle and ultra-wide-angle lenses are ideal for photographing seascapes. On the other hand, for portrait photography, a standard lens or medium telephoto lens will allow you to capture the subject beautifully with a natural angle of view. Using a telephoto lens will allow you to capture distant islands and boats in a large size, expanding the scope of your expression.
Maximum aperture
When photographing the ocean, you may be shooting under a variety of lighting conditions. Lenses with small maximum apertures, such as F2.8 to F4, make it easier to take bright photos even at twilight or on cloudy days. Lenses with small maximum apertures can also beautifully express background blur in portraits.
Delineation performance
Lens imaging performance varies depending on the model, but by choosing a lens with consistent resolution all the way to the periphery, you will be able to capture the fine details of the ocean. Also, by choosing a lens that effectively suppresses flare and ghosting, you can safely shoot in backlight. It is a good idea to check the image quality of the lens using sample images and choose a lens that is close to the expression you are looking for.
Easy to carry
To capture beautiful images of the ocean, you will have to travel a lot. Therefore, by choosing a lightweight and compact lens, you can enjoy shooting with less hassle. Compact lenses are highly mobile and easy to aim the camera flexibly, so you won't miss any opportunities to take photos.
Simple drip-proof mechanism
At the beach, your camera will inevitably be vulnerable to damage from salty sea air, splashes of water, sand, and other elements, so it's a good idea to choose a lens with a weather-resistant structure that protects the inside of the lens. However, even if the lens has a weather-resistant mechanism, it cannot completely prevent water from getting in, so be sure to properly maintain the lens after shooting.
Autofocus (AF) performance
In addition to smooth focusing, AF's ability to track moving subjects is also an important factor. By choosing a lens with high AF speed and accuracy, you will be able to flexibly handle a variety of subjects.
In-lens image stabilization
The in-lens image stabilization mechanism can stably suppress camera shake. If the effect level can be adjusted, it can also be used for panning shots and other expressions, expanding the scope of photography.
When taking photos of the ocean, be aware of the composition and the horizon
When photographing the sea, you can take a well-balanced photo by being conscious of basic composition and the horizon. You can also enjoy the changes in the seascape depending on the time of day, take portraits, and many other ways to express yourself. Try changing the composition, the elements you include in the foreground, the angle, and the position to capture a moment that you find interesting.

Lens Featured in this Impression
-
-
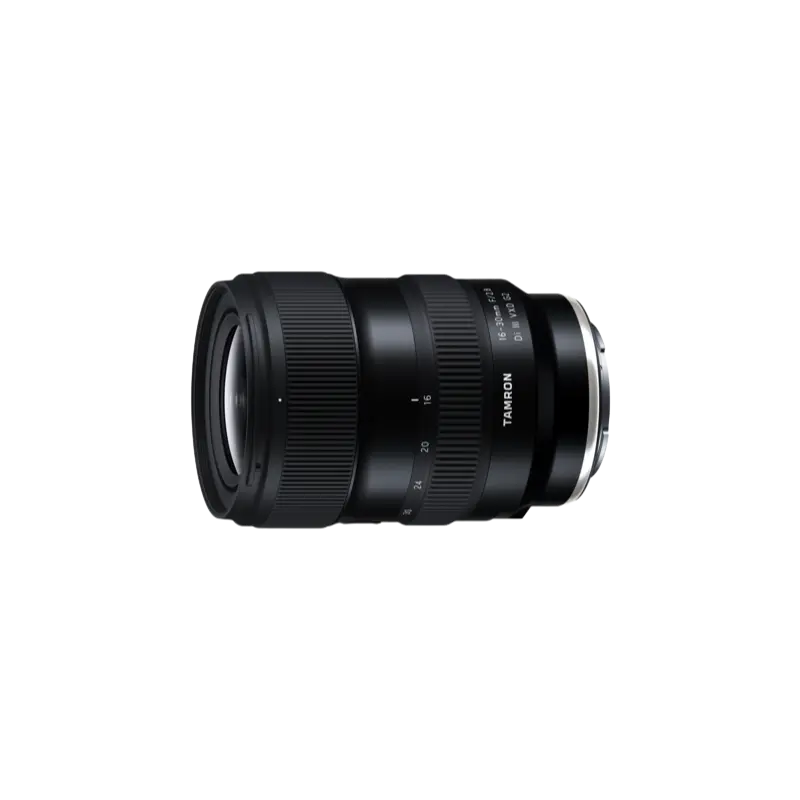
16-30mm F/2.8 Di III VXD G2 a064(Model )
Expanding upon the success of the highly acclaimed TAMRON 17-28mm F/2.8 Di III RXD (Model A046), the G2, 2nd-generation emerges as an advanced 16-30mm F/2.8 Di III VXD G2 (Model A064). While broadening the zoom range, it maintains a compact, lightweight design and delivers exceptional image quality. In addition, it features improved autofocus performance and has been updated to the latest lens design, enhancing overall operability. It’s also compatible with TAMRON Lens Utility™, allowing you to customize practical functions for both photography and videography. Retaining the mobility and versatility of its predecessor, the 16-30mm F2.8 G2 unlocks new creative possibilities. Experience the unique creative expressions that only a fast, ultra wide-angle lens can offer.
-
-
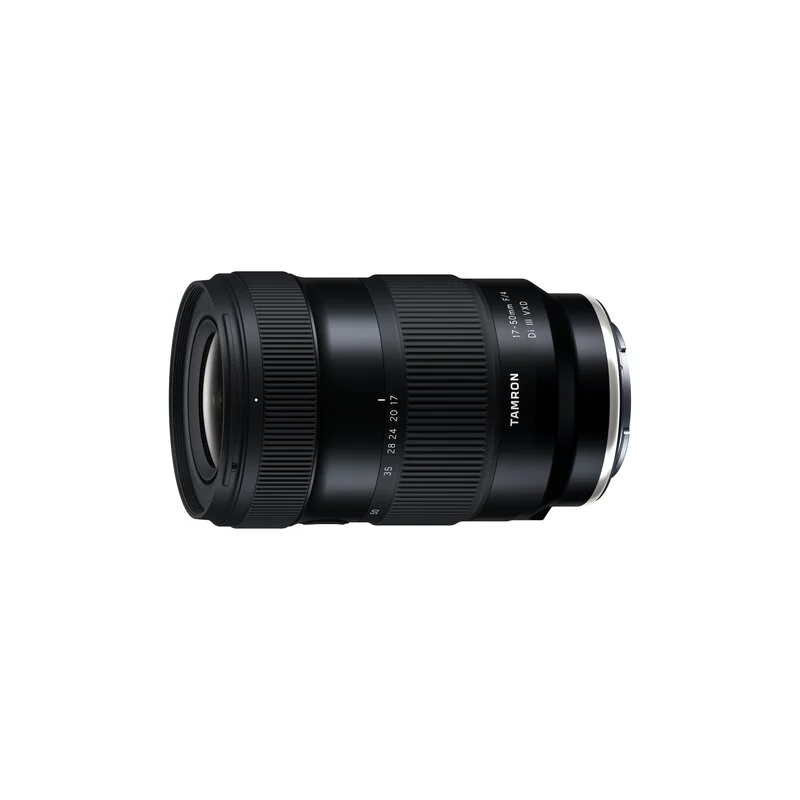
17-50mm F/4 Di III VXD a068(Model )
It's the world’s first lens covering from ultra wide-angle 17mm to the standard 50mm focal length. The highly-compact TAMRON 17-50mm F/4 Di III VXD (Model A068) for Sony E-mount full-frame mirrorless cameras offers maximum versatility for still and video creators. From landscapes to living rooms, this lens captures all that you see.
-
-
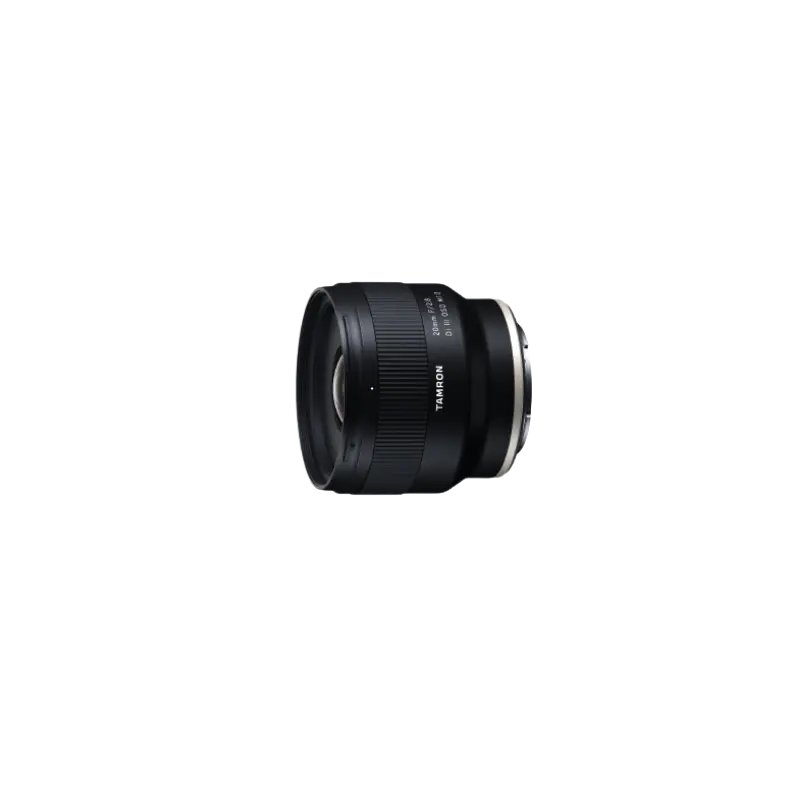
20mm F/2.8 Di III OSD M1:2 f050(Model )
The 20mm F/2.8 Di III OSD M1:2 (Model F050) is a 20mm fixed focal lens featuring F/2.8 and high close-up shooting, allowing you to enjoy ultra wide-angle photography in earnest. With a MOD (Minimum Object Distance) of 0.11m, you can enjoy the world of ultra wide-angle photography that you have never experienced before.
-
-
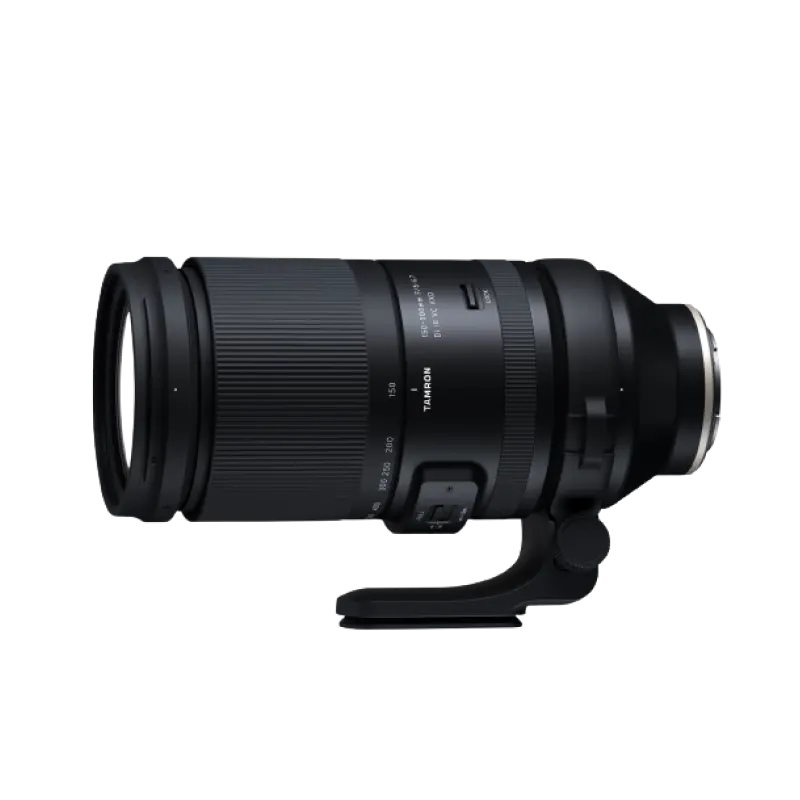
150-500mm F/5-6.7 Di III VC VXD a057(Model )
The 150-500mm F/5-6.7 Di III VC VXD (Model A057) is compact enough to be handheld while maintaining a focal length of 500mm on the telephoto end. It allows users to easily enjoy the world of the 500mm ultra-telephoto lens while maintaining its high image quality. The high-speed, high-precision AF with excellent tracking performance and the VC mechanism support handheld shooting in the ultra-telephoto range.
-
-
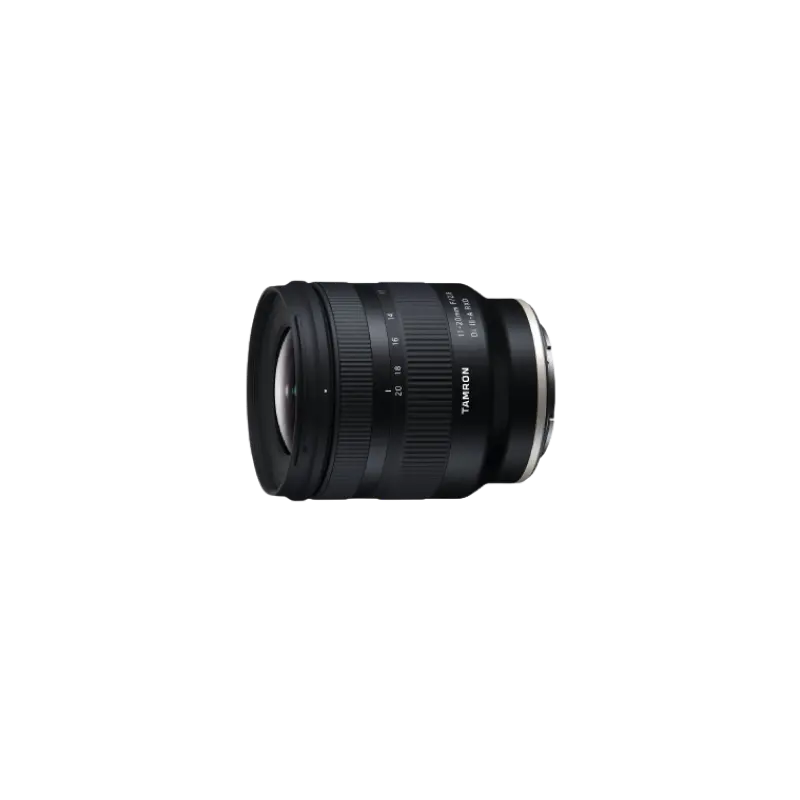
11-20mm F/2.8 Di III-A RXD b060(Model )
Product Page | 11-20mm F/2.8 Di III-A RXD (Model B060) is the world's first compact, lightweight F2.8 ultra wide-angle zoom lens for Sony E-mount APS-C mirrorless cameras. Can be a great choice for video shooting.

