July 30, 2025
[Is something wrong with the photo?] What are lens flare and ghosting? Explaining phenomena that affect image quality such as What is blown-out highlights, crushed shadows, and vignetting
[Is something wrong with the photo?] What are lens flare and ghosting? Explaining phenomena that affect image quality such as What is blown-out highlights, crushed shadows, and vignetting
![[Is something wrong with the photo?] What are lens flare and ghosting? Explaining phenomena that affect image quality such as blown out highlights, crushed shadows, and vignetting](/global/consumer/article_file/file/article-what-is-camera-lens-flare-ghost-whiteout-blackout-vignetting/kv.webp "[Is something wrong with the photo?] What are lens flare and ghosting? Explaining phenomena that affect image quality such as blown out highlights, crushed shadows, and vignetting")
If you've just started taking photos, you may have the problem of not being able to take the photos you want. The entire screen may turn white, or completely black, or patterns that are invisible to the naked eye may appear on the screen. These are not equipment problems, but may be phenomena caused by the characteristics of the camera or lens. In this article, we will explain the causes of these phenomena, how to deal with them, and how to make the most of them.
*1st photo: A work that makes use of ghosts. Source: PIXTA
Phenomena that affect the quality of photographs
Due to the characteristics of cameras and lenses, unintended phenomena may appear in photos. Some typical examples are the following:
・Flare, where the sunlight is too strong and the photo appears washed out
・Ghosting, where light appears in the shape of a ring, ellipse, or aperture on the screen
・Vignetting, where the corners of the image become dark
・Blowout, where bright areas become pure white
・Broken shadows, where dark areas become pure black
These phenomena can lower the quality of a photo, but they can also be prevented. Also, they are not necessarily negative, and can be intentionally used to accentuate an expression. In order to control these phenomena, it is important to know the causes and countermeasures.
Phenomenon caused by lens characteristics
Camera lenses have various optical characteristics that cause certain phenomena. These mainly include flare and ghosting. Let's take a closer look at the characteristics of each.
What is Flare?

Flare is a phenomenon in which strong light enters a lens and scatters, making the entire screen appear foggy. This reduces the contrast of the entire photo and fades the colors, resulting in a decrease in image quality. It is particularly likely to occur in backlit conditions when shooting towards the sun, and is characterized by the entire photo appearing whitish and blurry. Flare can occur differently depending on the type and quality of the lens, but it can occur with any lens under certain conditions.
What causes flares?
The main cause of flare is when a strong light source such as the sun directly enters a lens. A lens is made up of multiple glass lenses, and flare occurs when light is diffusely reflected or scattered inside the lens. When strong light enters the front of the lens, it is easy for the image to lose clarity due to repeated reflections. In addition, if the surface of the lens is dirty or has fingerprints on it, the light will scatter and the flare will be accentuated.
How to prevent flare?
The basic countermeasure against flare is to use a lens hood. A lens hood prevents unwanted light from entering from the sides or above, reducing the occurrence of flare. It is a good idea to carry one with you, especially when shooting outdoors in strong sunlight. Also, even just slightly changing the direction or position of the camera can be effective.
When choosing a lens, choose one with an appropriate coating. Measures have been taken to reduce internal reflections and make flare less likely to occur. Also, always keep the lens surface clean and try to avoid leaving fingerprints and dirt on it.
What is a ghosting?

A ghosting is a ring-shaped or polygonal light image that occurs when light is reflected inside a lens. Like flare, it is a phenomenon that is often seen in scenes with strong light sources such as sunlight or street lights at night. The cause of the ghosting is similar to flare, but ghosts appear as a clearly shaped light pattern in a specific part of the image, rather than covering the entire screen.
What causes ghosting?
The main cause of ghosting is the reflection of light on multiple glass surfaces inside the lens. As mentioned above, a camera lens is made up of multiple lens elements, and light is reflected on the front and back of each lens. Zoom lenses, which have a large number of lens elements, are particularly prone to ghosting due to their structure. The shape of the ghosting is also affected by the shape of the camera's aperture: if the aperture is round, the ring of light will be round, and if it is polygonal, the ring of light will be polygonal. Also, if a filter is attached, reflections will occur between the filter and the lens, which may increase the amount of ghosting.
How to prevent ghosting?
The basis for preventing ghosting is to use lenses with appropriate lens coating. Anti-reflective coating technology has improved in recent years, and lenses are designed to be less prone to ghosting. It
is also important to be creative with your composition and avoid putting strong light sources in the frame. If you really want to include a light source, even slightly changing the angle of the light source can reduce ghosting. As with preventing flare, using a lens hood is also an effective way to prevent ghosting.
Also, stacking multiple filters can increase the reflective surface and make ghosting more likely to occur. If you are using a filter, try removing it to see if there is any change.
Using Flare and Ghosting for Creative Expression
Flares and ghosts are not just defects, but can also be used to create creative expressions when intentionally incorporated. In particular, they can be used as accents when you want to create a fantastical atmosphere or an emotional impression. From here, we will introduce examples of how they are used in specific scenes.
Portrait

In portraits, flare and ghosting can be used to create a dramatic effect. For example, by backlighting the subject at dusk and framing the sun, you can create a dreamy atmosphere with soft light dancing around the subject. You can also use rim light to outline the subject's outline, making them stand out from the background and creating a warm atmosphere.
Landscape

When shooting sunrises and sunsets, the flare created by including the sun in the frame can create a fantastical and mysterious landscape. By using ghosts, you can make the light look more dramatic and take landscape photos that appeal to emotions. On foggy or cloudy days, the light can be diffused to create a more mysterious landscape.
Snap

You can use flare and ghost to add emotional accents to everyday life and scenery in snapshots. For example, you can create a nostalgic atmosphere by capturing children or people silhouetted against the backlight and generating a flare. Also, when shooting in the city, you can express the unique atmosphere of the city by overlaying the sunlight reflected on the glass windows of buildings and the light of street lamps with ghosts.
A phenomenon that occurs due to the amount of exposure
Exposure is a very important point in photography. However, there is a limit to the range of light and dark that a camera sensor can capture (dynamic range), and parts that are too bright will be washed out and parts that are too dark will be crushed into black. Let's take a closer look at each phenomenon.
What is blown-out highlights (overexposure)?

Blown-out highlights is a phenomenon where overexposure causes bright parts of a photograph to turn pure white and lose detail. Parts that exceed the upper limit of brightness that the sensor can capture appear white. This phenomenon is particularly likely to occur when shooting under strong sunlight during the day or when there are bright light sources such as street lights at night. Once blown-out highlights occur, it is difficult to restore the lost information even in post-processing, so it is important to take measures when shooting.
However, if you look at it from a different perspective, you can take advantage of the characteristics of blown-out highlights and use them to create a bright (high-key) tone against a white background, as in the work above, to make the subject stand out or to create a soft, refreshing impression.
Reduce blown-out highlights
Setting exposure compensation to the negative side is effective in preventing overexposure. Exposure compensation reduces the overall brightness and reduces overexposure. You can also use highlight-weighted metering or spot metering to determine exposure based on bright areas, preventing overexposure in important areas. For serious photography, shooting in RAW format may allow you to correct highlighted areas during development.
What is black crush?

Crushed shadows is a phenomenon where dark areas in a photograph become pitch black and lose detail due to underexposure. As with blown-out highlights, a camera sensor has a minimum limit for how dark it can be captured, and anything darker than that is rendered as black. This tends to occur in low-light situations, such as in shadows, dark indoors, or night scenes, and causes the subject's three-dimensionality and texture to be lost. Like blown-out highlights, crushed shadows are difficult to completely restore even in post-processing, so it is important to take measures when shooting.
On the other hand, by darkening the background and depicting the subject as a black silhouette, you can accentuate the colors of the sunrise or sunset and create a dramatic effect, like the work above.
Reduce black crush
To prevent crushed shadows, it is effective to set the exposure compensation to the positive side. As with blown-out highlights, another method is to use spot metering based on the dark areas. Another method is to brighten the image by using a supplementary light source such as a flash or light, or by reflecting light with a reflector. If you shoot in RAW format, you may be able to make compensation during development.
What causes noise and how can you suppress it?
Another phenomenon related to exposure is noise, which you should be aware of. Noise is a grainy, granular disturbance that appears in an image, and can become noticeable if the ISO sensitivity is too high. When you want to use a faster shutter speed in a dark place, you may set the ISO sensitivity high, but in such scenes, it is a phenomenon you should be careful of.
Noise is often not a concern with recent single-lens cameras, but if you want to depict details clearly, it is best to shoot with an upper limit of around ISO3200 to ISO6400. In addition, to ensure sufficient light, it is also effective to use a lens with a small maximum aperture or use a tripod to slow down the shutter speed.
A phenomenon caused by the way lenses and cameras are used
Various phenomena can appear in photographs depending on the characteristics of the camera and lens as equipment and how they are used. Here, we will introduce "vignetting" that occurs depending on the combination of lens and camera and how they are used.
What is vignetting?
Vignetting is the darkening of the corners of a photograph. The center of the image is bright, but the corners gradually get darker, sometimes even black. This phenomenon can be particularly noticeable with wide-angle lenses. Vignetting causes the photo to be unintentionally framed in a circular shape, which can make the photo look different than you intended. This can be a problem when you want to capture an even image across the entire image, such as in landscape or architectural photography.
What causes vignetting?
There are several typical cases where vignetting occurs. First, when an APS-C lens is attached to a full-frame SLR camera, the image projected by the lens (image circle) becomes smaller than the sensor size, and the periphery may become dark. This is vignetting caused by the combination of equipment.
Secondly, it can also occur when using a lens hood. If the lens hood is tilted or misaligned, especially with a wide-angle lens, part of the hood will be reflected in the image, casting a shadow on the periphery and causing vignetting.
Stacking filters can also be a cause. When multiple filters are stacked, the edges of the filters limit the viewing angle, and it is particularly easy for shadows to form on the periphery of a wide-angle lens.
How to prevent vignetting?
When using a lens hood, make sure it is attached correctly. If it is not attached straight, it can cause unintended vignetting. Also, lens hoods are generally not used when shooting with a flash, as they can cast shadows.
Be careful when using filters. Choose filters that are as thin as possible, and avoid stacking many thick filters. Using thin filters can reduce the risk of vignetting, especially when using a wide-angle lens.
Using vignetting in photography
Vignetting can also be used to create retro photos, nostalgic effects, or to emphasize the subject.
For example, vignetting can be used to draw the eye to the center of the photo and focus on the subject. In portraits, placing the subject in the center and darkening the surroundings a little can draw attention to the person. The
dark corners caused by vignetting are also called the vignette effect, and can create a retro or artistic impression. For example, it is a good expression for subjects that give a sense of the era, such as antiques, retro furniture, and interiors.
Understand the characteristics of lenses and take measures
By understanding the causes of phenomena such as flare, ghosting, whiteout, and blackout, you can take measures to prevent them. Remember the characteristics of the lens and how to use exposure compensation. Also, once you become accustomed to shooting, deliberately incorporating these phenomena will help broaden the scope of your expression.

Lens Featured in this Impression
-
-
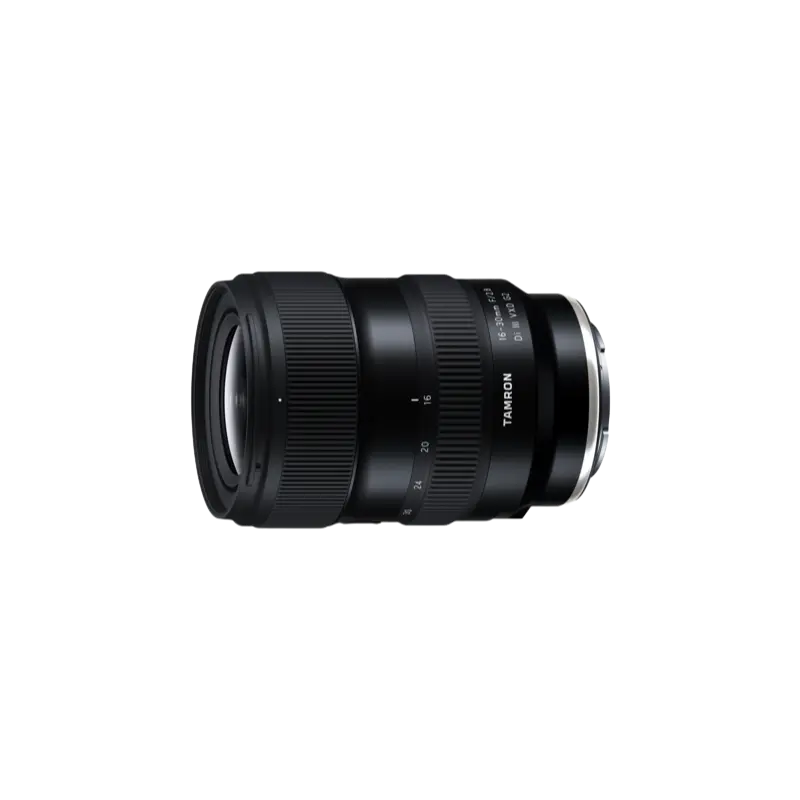
16-30mm F/2.8 Di III VXD G2 a064(Model )
Expanding upon the success of the highly acclaimed TAMRON 17-28mm F/2.8 Di III RXD (Model A046), the G2, 2nd-generation emerges as an advanced 16-30mm F/2.8 Di III VXD G2 (Model A064). While broadening the zoom range, it maintains a compact, lightweight design and delivers exceptional image quality. In addition, it features improved autofocus performance and has been updated to the latest lens design, enhancing overall operability. It’s also compatible with TAMRON Lens Utility™, allowing you to customize practical functions for both photography and videography. Retaining the mobility and versatility of its predecessor, the 16-30mm F2.8 G2 unlocks new creative possibilities. Experience the unique creative expressions that only a fast, ultra wide-angle lens can offer.
-
-
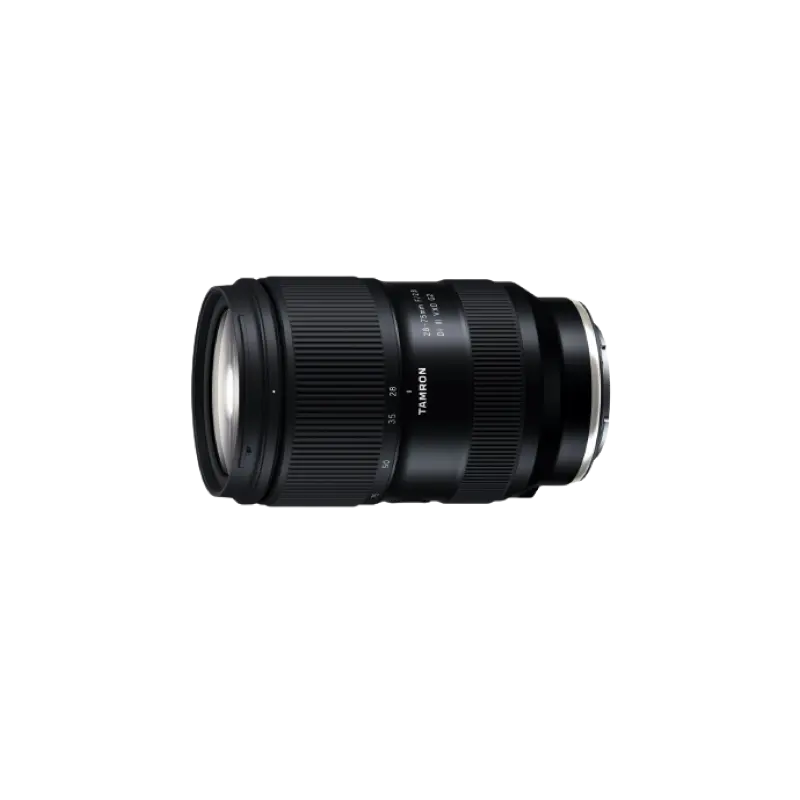
28-75mm F/2.8 Di III VXD G2 a063(Model )
Product Page | 28-75mm F/2.8 Di III VXD G2 (Model A063) is the second-generation fast-aperture standard zoom lens for Sony and Nikon full-frame mirrorless cameras, offering significantly improved optical and autofocus performance and new function customization.
-
-
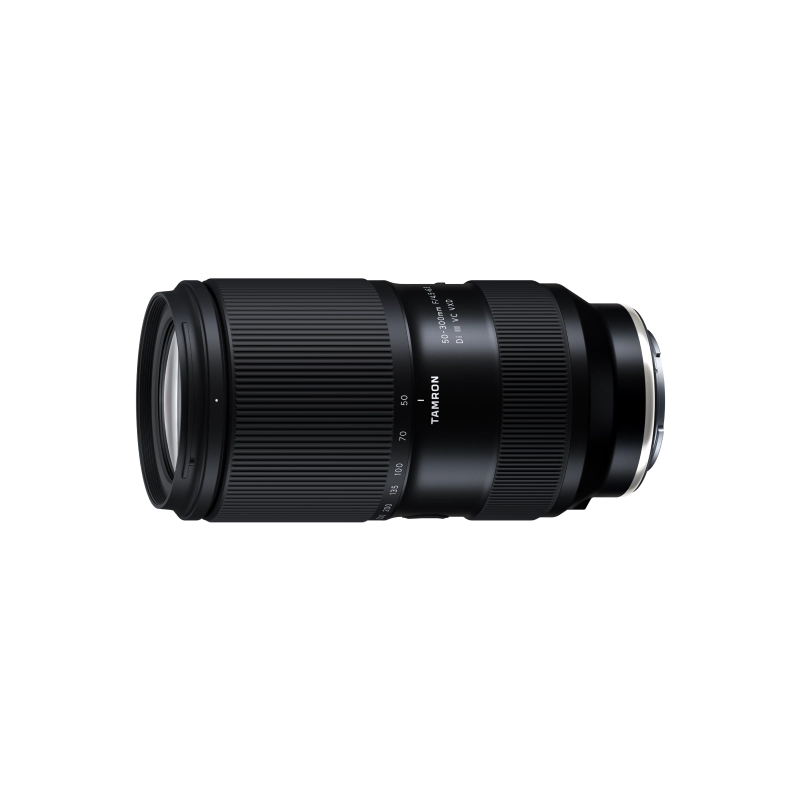
50-300mm F/4.5-6.3 Di III VC VXD a069(Model )
50-300mm F/4.5-6.3 Di III VC VXD (Model A069) is a 6x telephoto zoom lens for Sony E-mount that delivers outstanding convenience and image quality. Discover the groundbreaking capabilities of a 300mm telephoto zoom that starts from 50mm at the wide end.
-
-
28-300mm F/4-7.1 Di III VC VXD a074(Model )
28-300mm F/4-7.1 Di III VC VXD (Model A074) is a compact and versatile all-in-one 10.7x zoom lens for Sony E-mount. The lens boasts class-leading high image quality, and is equipped with high-speed AF VXD and VC. Go from wide-angle to long telephoto in an instant and capture every moment of the world around you.
-
-
90mm F/2.8 Di III MACRO VXD f072(Model )
The 90mm F/2.8 Di III MACRO VXD (Model F072) is the mirrorless version of the TAMRON 90mm macro lens, beloved for many years. It offers outstanding resolution and optical performance, featuring TAMRON’s first 12-blade circular aperture for stunning bokeh and starburst effects. Its lightweight, compact design ensures easy portability, and the new hood with sliding window simplifies filter use. The lens is also compatible with TAMRON Lens Utility™ and has high-speed, high-precision AF, expanding possibilities for photography and videography. This lens blends TAMRON's legacy of brilliance with advanced technology, marking a new chapter in the 90mm macro lens history.