May 30, 2025
What is texture in photography? Learn how to capture the different impressions and textures of your subject matter
What is texture in photography? Learn how to capture the different impressions and textures of your subject matter

What is texture in photography?
Texture refers to the feel and texture of the subject's surface. Examples include the cracks and moss on the surface of dead trees, and the softness of flower petals. If you can depict texture well, it creates a sense of touch that you would feel when looking at it with the naked eye, creating a sense of realism. It also becomes an element in expressing depth and three-dimensionality.
Expressing texture requires not only technical elements such as lighting, angle, and lens selection, but also looking at the subject itself. Don't just point your camera at the subject, but carefully observe the characteristics of its material and surface to find interesting features.
Texture types and effects
Textures are expressed as hard or soft. For example, a soft texture expresses softness and gentleness, while a hard texture expresses a sense of firmness and strength. Here we will introduce some typical textures.
Natural Texture

Nature is rich in fascinating textures. Here are some examples.
The unevenness of bark and the flow of wood grain are art created by nature over many years. Accurately depicting the surface of a tree that has been exposed to wind and rain for decades or even centuries will give you a sense of the passage of time. Ripples and reflections
on the surface of water give a sense of stillness and movement, and shooting in soft light will give you an impressive texture. You will see a variety of expressions depending on the scene, such as the surface of a lake shrouded in morning mist or a flowing river illuminated by the setting sun.
The texture of rock surfaces and strata will be more realistic if you can express the delicacy of the texture. Weathered rock surfaces and layered strata give you a sense of ancient history.
In this way, subjects in nature will show you a variety of scenes depending on the perspective from which you observe and the expression of texture.
Artificial texture

There are many different textures in things created by humans. The differences in texture that arise from materials and manufacturing methods are easy to understand examples.
For example, the texture of fabrics and textiles can express the characteristics of the material by emphasizing the unevenness of the fibers. Observe the unique textures of each material, such as the smoothness of silk, the warmth of wool, and the roughness of linen.
The reflections and textures of metal surfaces can be expressed impressively depending on the direction and intensity of the light. It is important to bring out the appeal of materials by changing the position and size of the light source, such as the cool shine of stainless steel, the warm luster of brass, and the matte texture of aluminum.
The walls and floors of old buildings also have a sense of the flavor that comes with age. Peeling paint and weathered bricks can also be interesting subjects.
Subjects that emphasize texture
Here we will introduce some typical subjects that show off their texture, as well as some tips for photographing them.
Flowers and plants

By using a macro lens or a lens with high close-up capabilities, you can capture the delicate texture of the petals, even their transparency and fine patterns. Shooting in the weaker light of mornings and evenings rather than during the day will allow you to beautifully express the delicate texture and patterns of the petals. Petals with water droplets on them also make for attractive photos.
Additionally, taking photos in backlight allows the interior of the leaf veins to shine through, highlighting their beauty. You can also focus on details such as the downy hairs and the stamens and pistils.
Insect

Using a macro lens, you can clearly capture the fine texture of the delicate structure of the wings and antennae. Observe the beetle's luster and the geometric patterns on its surface. You can also see interesting textures when you get up close and personal with the compound eyes and hair. These features are easier to capture with a slightly stronger light source. The key to taking photos is to narrow the aperture slightly, to around F8 to F11.
Small items and miscellaneous goods
For accessories and miscellaneous goods, pay attention to the texture of the materials and the changes that occur over time that are unique to man-made objects. For glass and ceramics, you can take advantage of the transmission and reflection of light to express the original texture of the material, such as the unevenness, gloss, and transparency of the glaze. For objects made of wood or leather, photographing them in shadow in the sunset will create an emotional atmosphere. For antique miscellaneous goods, emphasize the three-dimensional effect with side lighting to effectively bring out the texture that changes over time.
Tool

Everyday tools reflect the lifestyle of the person who uses them. Metal tools such as knives and tools look impressive when you take a close-up look at the scratches, wear, and dull shine that come with use. Objects with handles or grips look more realistic when you capture the shine, fingerprints, and even slight dents. Tools used by craftsmen or in sports can be photographed with the person using them to create a narrative effect.
Vehicles and machinery
Photographing a car's body lines and paint in softer light rather than strong light will bring out the beauty of its curves and body lines. For engine parts and mechanical components, using a telephoto or macro lens to capture the details will highlight the precise beauty of their shape. It's also good to capture the glossiness that comes from oil and use. For vehicle interiors, natural light will make the differences in texture of materials such as leather seats and wood panels more apparent.
Building
For architectural walls, using side lighting will emphasize the three-dimensional texture. Also, for old buildings, using a wide-angle lens to capture the space will create a photo that evokes a contrast between history and the present. On the other hand, for modern buildings, emphasizing the impression of materials such as glass and concrete, and the beauty of their design, such as their structure, will create a cool atmosphere.
Portrait
When photographing portrait, pay attention to the texture of the skin, such as the texture of the skin and wrinkles. Using soft light, such as shade or a sunset, will help bring out the texture of the skin naturally. Emphasizing the contrast of the wrinkles and lines on the face will give the image a greater sense of depth. The texture of a model's hands is a unique subject that reveals a model's occupation and lifestyle, and taking a close-up shot of them will help convey their individuality.
How to capture texture beautifully
So how can you take photos to fully express texture? Here we will introduce some basic photography tips.
Take close-up shots
By getting up close and taking pictures of your subject, you can capture the texture of details that are difficult to notice with the naked eye. When taking close-up shots, it's important to clearly define the area you want to focus on and make use of bokeh to highlight the subject. In particular, since macro lenses have a shallow depth of field, you need to decide which part you want to make the subject and consciously focus on that. Also, a macro lens is not essential for taking close-up shots; you can also take close-up shots with regular lenses that have a short minimum focusing distance.
Exposure setting tips
Exposure settings are very important to capture textures clearly. Be careful not to over or underexpose.
Reduce F-number (aperture) slightly
By Reducing the F-number slightly from the maximum aperture, it becomes easier to capture the texture of the details. Increasing the F-number deepens the depth of field and expands the range that appears in focus, allowing you to express the details of three-dimensional textures. As a guideline, try setting it to around F8 to F11 and adjusting accordingly. On the other hand, if you want a blurred image, open the aperture.
Shutter speed is adjusted according to the brightness
It is a good idea to adjust the shutter speed using aperture priority mode. If your photos are too dark in low-light environments, such as indoors, you can use a tripod and set a slower shutter speed to capture fine details.
On the other hand, if the subject is moving, you will need a shutter speed of at least 1/125 seconds. For example, if you are taking pictures of flowers swaying in the wind or insects moving, choose a faster shutter speed.
Be careful not to set the ISO sensitivity too high
First, try shooting at ISO100 to ISO400, and if it is dark, adjust the ISO sensitivity to a higher value. If you are setting a fast shutter speed in a dark place, it is a good idea to set the ISO sensitivity to a higher value. On the other hand, if the ISO sensitivity is set too high, noise may become noticeable in delicate details, so aim for a maximum of ISO3200 or ISO6400.
Prevent overexposure and underexposure with exposure compensation
Shiny subjects are prone to overexposure due to reflections, so negative exposure compensation is used to capture details in the highlighted areas. On the other hand, to express the texture of dark subjects or shadow areas, positive exposure compensation is used to prevent crushed blacks. Adjust as necessary while checking the final photo.
Tips for focusing
Close-up shots tend to become blurred, so be sure to clarify the details of the subject and focus on that exact point. It's important to clearly visualize before shooting which part of the subject's texture you want to emphasize the most. For example, when photographing flowers, you'd want to focus on the delicate pattern of the petals, and if it's a wooden product, you'd want to focus on the part where the flow of the wood grain looks the most beautiful. Also, if you keep in mind to hold the camera perpendicular to the subject, it will be easier to ensure the focal plane is correct.
Be aware of the direction of light
To express texture, try using side lighting. This makes it easier to express texture, as the unevenness of the surface casts shadows and creates a three-dimensional effect. If you are shooting in natural light, it is easier to shoot in the morning or evening.
On the other hand, for transparent subjects such as the downy hairs of flowers and plants, backlighting will highlight the delicate beauty of their texture. However, since it is difficult to adjust the exposure when shooting in backlighting, it is a good idea to use spot metering or exposure compensation. Front lighting can
also faithfully reproduce the colors and patterns of the subject, making it suitable for subjects with colorful textures or fine patterns. Note that it is difficult to create a three-dimensional effect, so it is a good idea to use a reflector or other auxiliary light if necessary.
Look for compositions where texture takes center stage
Make the most of the subject's characteristics and be conscious of composing your shot so that the texture itself becomes the main focus. It
is important to try shooting from various angles and close-ups to find a composition that captures the three-dimensionality and fine details of the subject in an impressive way. You may discover something new by moving around the subject and shooting from a low position or looking down from directly above. Also, even common subjects can be more impressive if you deliberately depict them in an unusual way, such as by taking extreme close-ups. For example, the surface of fruit, the patterns of leaves, and the weave of fabric are typical subjects.
On the other hand, framing is also an important element. For example, by filling the screen with the texture of the subject, you can create a more immersive expression. Another method is to place the texture on part of the screen to create contrast with other elements. In this way, it is a good idea to be conscious of contrast and strength.
Tips for choosing lenses
Here we'll show you how to choose the right lens to capture detail and texture.
Maximum aperture
Lenses with a small maximum aperture have the advantage of making it easier to take brighter photos even in dark places. Bright lenses such as F2.8 and F4 can express textures with clear image quality even indoors or in dark environments. They also produce a large amount of background blur, making them effective for highlighting textures.
Focal length and angle of view
A medium telephoto macro lens is easy to use for macro photography, and has the advantage of being able to capture textures in fine detail while maintaining a moderate distance from the subject.
A telephoto lens can also capture the texture of distant subjects in a large size. In addition, the narrow angle of view results in greater background blur, allowing you to emphasize the texture as the subject. It is also ideal for capturing cautious creatures such as animals.
On the other hand, a wide-angle lens can capture a wide range, so it is suitable for expressing the overall image and texture of large subjects such as landscapes and buildings. It allows for powerful expressions that emphasize perspective. It is particularly effective when capturing the interior of a building or distinctive textures in a landscape.
Minimum focusing distance
The shorter the minimum focusing distance of a lens, the closer you can get to the subject, making it easier to capture textures in a larger size. When choosing a lens, it's a good idea to check the minimum focusing distance. If the minimum focusing distance is short, you can get macro-lens-like images even without a macro lens. First, check the minimum focusing distance of the lens you have and make the most of its performance.
Autofocus (AF) performance
Check the AF performance to see if the focus can be achieved smoothly. Motion tracking performance is also an important point when photographing moving subjects such as insects and animals. When photographing creatures that are sensitive to sound, make sure the camera is quiet. However, manual focus (MF) is also useful in situations that require precise focusing, such as macro photography. We recommend lenses that allow smooth switching between AF/MF and lenses where MF is easy to adjust.
Vibration Compensation mechanism
f the lens has a Vibration Compensation mechanism, it becomes easier to obtain a sharp and stable image even when shooting handheld. Vibration Compensation mechanism is particularly effective in macro and telephoto photography, where even the slightest shaking of the hand can easily appear as blur in the image. In addition, if the effect level can be adjusted, there is the advantage that it can be easily applied to a variety of expressions.
Focus on texture to take realistic photos
Texture gives a sense of depth and realism to a photograph. By adjusting the intensity, direction, and angle of light, you can bring out completely different expressions from the same subject. In addition, to express texture, it is more important to develop an eye for carefully observing the subject than to rely on technique. Look for impressive subjects by paying attention to the details of everyday things that you usually overlook.

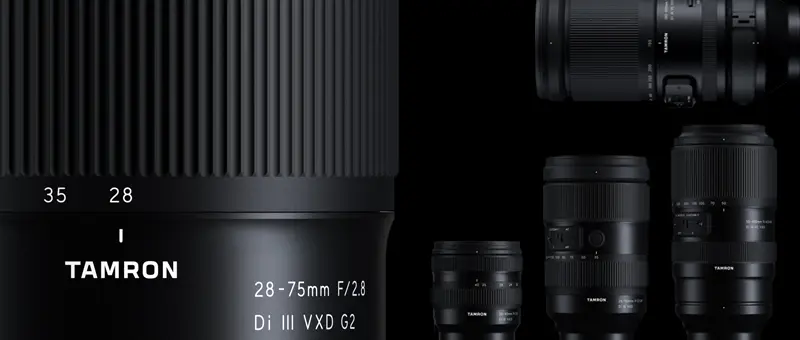
Lens Featured in this Impression
-

-
90mm F/2.8 Di III MACRO VXD f072(Model )
The 90mm F/2.8 Di III MACRO VXD (Model F072) is the mirrorless version of the TAMRON 90mm macro lens, beloved for many years. It offers outstanding resolution and optical performance, featuring TAMRON’s first 12-blade circular aperture for stunning bokeh and starburst effects. Its lightweight, compact design ensures easy portability, and the new hood with sliding window simplifies filter use. The lens is also compatible with TAMRON Lens Utility™ and has high-speed, high-precision AF, expanding possibilities for photography and videography. This lens blends TAMRON's legacy of brilliance with advanced technology, marking a new chapter in the 90mm macro lens history.
-
-
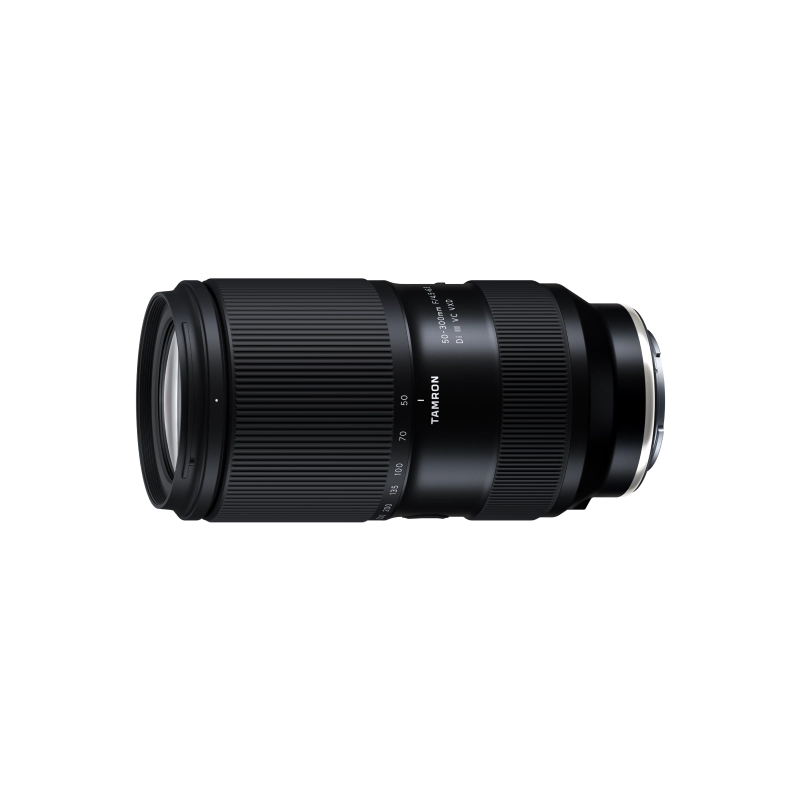
50-300mm F/4.5-6.3 Di III VC VXD a069(Model )
50-300mm F/4.5-6.3 Di III VC VXD (Model A069) is a 6x telephoto zoom lens for Sony E-mount that delivers outstanding convenience and image quality. Discover the groundbreaking capabilities of a 300mm telephoto zoom that starts from 50mm at the wide end.
-
-
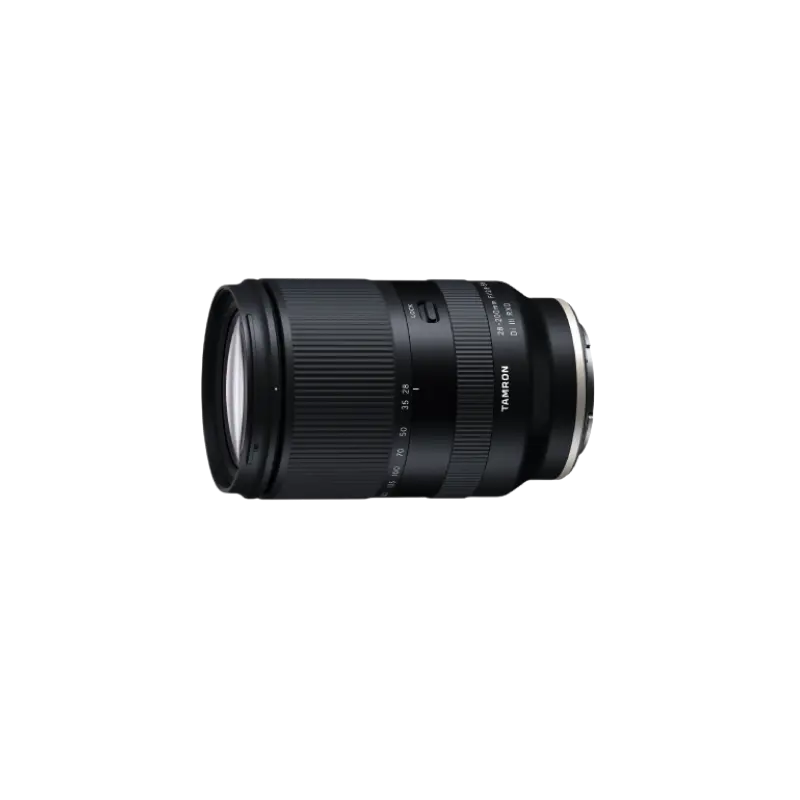
28-200mm F/2.8-5.6 Di III RXD a071(Model )
Tamron has distilled all the technical capabilities and know-how amassed over the last 28 years in its development of all-in-one zoom lenses into the creation of this 28-200mm F/2.8-5.6 Di III RXD (Model A071), designed exclusively. The lens has a large maximum aperture of F2.8 at 28mm wide end, which represents a world’s first* for all-in-one zoom lenses, and delivers high-level performance across the entire zoom range, from the 28mm wide-angle end to 200mm telephoto.
-
-
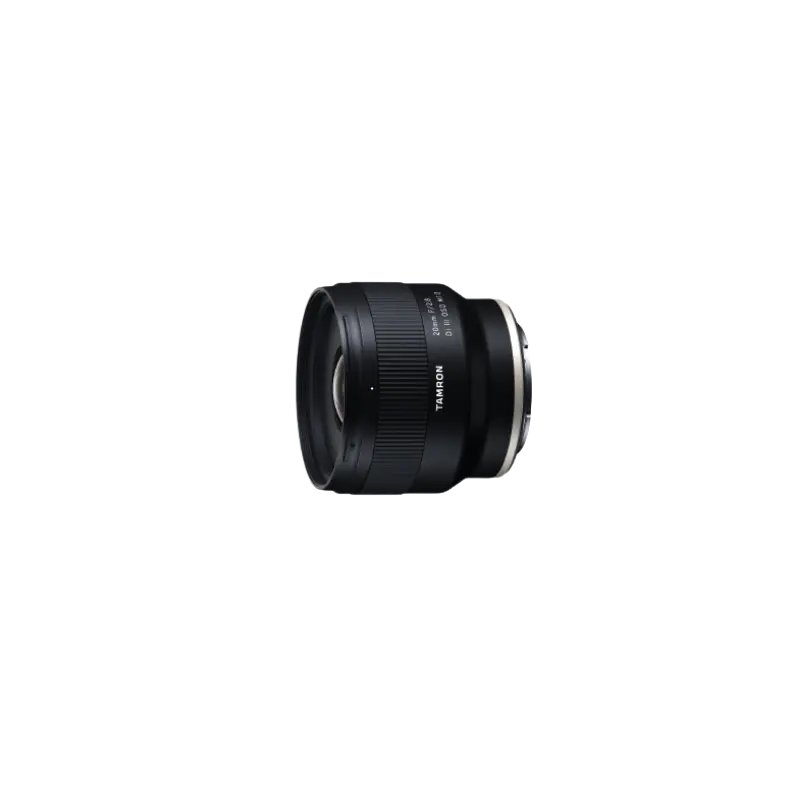
20mm F/2.8 Di III OSD M1:2 f050(Model )
The 20mm F/2.8 Di III OSD M1:2 (Model F050) is a 20mm fixed focal lens featuring F/2.8 and high close-up shooting, allowing you to enjoy ultra wide-angle photography in earnest. With a MOD (Minimum Object Distance) of 0.11m, you can enjoy the world of ultra wide-angle photography that you have never experienced before.
-

-
70-180mm F/2.8 Di III VC VXD G2 a065(Model )
70-180mm F/2.8 Di III VC VXD G2 (Model A065) has evolved to G2 level.This is the world’s smallest and lightest, fast-aperture telephoto zoom lens for Sony E-mount and Nikon Z mount with astounding portability and superb image quality.