December 26, 2025
[Beginner-Friendly & Foolproof] Architecture photography techniques and lens selection basics
[Beginner-Friendly & Foolproof] Architecture photography techniques and lens selection basics
![[Beginner-Friendly & Foolproof] Architecture photography techniques and lens selection basics](/global/consumer/article_file/file/article-how-to-take-architecture-photo05.webp "[Beginner-Friendly & Foolproof] Architecture photography techniques and lens selection basics")
The appeal and enjoyment of architectural photography
Architectural photography is not merely about documenting buildings. It is a form of visual art that captures the beauty of lines and structures, the contrast between light and shadow, and the charm of carefully designed spaces. From residential homes and historical landmarks to modern skyscrapers, every building reflects the architect’s intentions and background, and expressing these elements through photography is what makes this genre so compelling.
Buildings also change their appearance depending on time of day and weather conditions. Even the same structure can convey a completely different impression depending on when you shoot and how the light falls. Elements such as the sky, shadows, and reflections shift with the time and season, sometimes making a familiar building feel entirely new. This depth and variation are among the reasons architectural photography never becomes dull.
While walking through a city, you may suddenly come across a building that makes you stop and look twice. Raising your camera with the desire to capture that moment beautifully is at the heart of building photography. Its true appeal lies in turning such moments of discovery into a tangible visual record.
Photography equipment and basic settings for taking beautiful photos of buildings
Essential accessories: tripod, remote release, and filters
A tripod is an essential tool for capturing high-quality images of buildings. In low-light situations, such as dusk or night scenes, slower shutter speeds are required, making handheld shooting prone to blur. Keeping the camera level is also crucial for architectural photography, as vertical and horizontal alignment greatly affects the overall impression of the image.
Using a remote release (or remote shutter) further minimizes camera shake caused by pressing the shutter button, resulting in more stable and detailed images.
A PL (polarizing) filter is also useful, as it reduces reflections on glass surfaces and enhances the blue of the sky. This is particularly effective when photographing modern glass buildings or structures near water.
Camera settings: aperture, ISO, and white balance
For building photography, aperture-priority mode (A or Av) is generally recommended. To capture architectural details clearly, a wide depth of field is essential. An aperture setting around F8 to F11 is ideal, allowing sharp rendering from foreground to background.
Set the ISO sensitivity as low as possible—typically ISO 100 to 200—to reduce noise and achieve crisp image quality. Since buildings are stationary subjects, slower shutter speeds are usually not an issue, making it easier to prioritize image quality over speed.
Auto white balance works well in many situations, but during sunsets or night scenes where color temperature shifts dramatically, using preset options such as Daylight, Shade, or Tungsten can help you achieve more intentional and accurate color tones.
Composition tips for architectural photography
Basic composition techniques: rule of thirds, symmetry, and vanishing points
In architectural photography, the rule of thirds is one of the most practical composition techniques. By dividing the frame into thirds both vertically and horizontally and placing key architectural elements along these lines or at their intersections, you can create balanced compositions with natural visual flow.

Symmetrical composition is achieved by photographing a building straight on from the front, and it is ideal for emphasizing symmetry and creating a sense of order and formality. This approach works particularly well for precisely designed structures, such as historical buildings and modern architecture.

By consciously incorporating vanishing points—where parallel lines extending into the distance appear to converge at a single point on the image—and perspective, you can create photographs with a strong sense of depth and dimensionality. Compositions in which buildings visually converge toward the distance are particularly effective for expressing the scale of architecture and the expansive feel of urban spaces.

Framing techniques to clearly define your subject
The key to effective framing is to clearly define what you want to convey. When composing your shot, focus on elements that highlight a building’s character, such as its exterior form, structural features, geometric patterns, the arrangement of windows and doors, or the texture of materials.
Simply being mindful of excluding unnecessary elements—such as signboards or overhead wires—can greatly simplify the frame and make the main subject stand out more clearly. Experimenting with different viewpoints, such as low angles or diagonal compositions, can also make even familiar buildings appear fresh and dynamic.
Using light and time of day
Golden hour in the morning and evening
The most striking light in architectural photography can be found during the golden hour, shortly after sunrise and just before sunset. At these times, the sun sits low in the sky, casting angled light across building surfaces and bringing out shadows and highlights in walls and decorative details.
This lighting enhances depth and dimensionality, giving the same building a completely different appearance compared to midday. In addition, the warmer color temperature of the sky creates a more dramatic atmosphere overall. Facades made of warm-toned materials such as brick or wood take on richer, deeper colors when illuminated by the evening sun.

Making the most of backlighting and side lighting
Using backlighting allows you to emphasize a building’s outline and create striking silhouette-style images. This technique is particularly effective for highlighting the distinctive shapes of modern architecture. However, exposure can be challenging, so manual adjustments are often required to achieve the desired result.
Side lighting, on the other hand, enhances shadows and highlights surface details, making it ideal for buildings with rich textures, decorative elements, and pronounced depth. It is especially effective when you want to clearly convey the material quality and three-dimensional character of architectural subjects.

Nighttime architectural photography and exposure control
Illuminated buildings truly come into their own at night. Historical landmarks and tower-like structures, in particular, gain a sense of grandeur and a dreamlike atmosphere through carefully designed lighting.
When shooting night scenes, it is important to avoid overexposure and blown highlights by applying negative exposure compensation of around −1 to −2 stops. Using a tripod and a remote release, aim for low ISO settings combined with long exposures to achieve smooth images with minimal noise.

Common mistakes in building photography and how to improve them
Preventing tilt and perspective distortion
One of the most common mistakes beginners make is unwanted tilt in buildings. This issue is especially noticeable when using wide-angle lenses, as vertical lines tend to distort toward the edges of the frame, making buildings appear as if they are leaning.
To prevent this, keeping the camera as level as possible is essential. Use grid lines in live view or an electronic level to carefully align your composition and maintain proper vertical and horizontal balance.
Common composition, exposure, and lighting issues and their solutions
Photographs that turn out too dark, or skies that become blown out, are also frequent problems in architectural photography. These issues can often be improved by reviewing your metering mode settings.
For example, if the building is your main subject, switching to spot metering and basing exposure on the building itself can be an effective approach. Another common mistake is allowing unnecessary elements such as power lines, signboards, or passersby to enter the frame. Even a small adjustment in composition can significantly improve the overall impression, so take the time to refine your framing without compromise.
How to choose the right lens for architectural photography
Lenses suitable for architectural photography and choosing the right focal length
To capture an entire building within the frame, wide-angle lenses in the range of approximately 15 to 35 mm are essential. Shooting from a greater distance helps control distortion while allowing more flexibility in composition.
In confined spaces or urban environments, where it is often difficult to step back far enough, wide-angle lenses become particularly valuable. Since perspective changes depending on focal length, it is important not only to choose a lens that captures a wide field of view, but also to consider your shooting distance and overall balance when selecting the appropriate focal length.

Characteristics and use cases of wide-angle and tilt-shift lenses
Wide-angle lenses are highly versatile and perform well in a wide range of situations, including cityscapes, skyscrapers, and interior photography. They emphasize perspective and allow for dynamic compositions, but at the same time require careful attention to distortion and framing.
Tilt-shift lenses are specialized tools that allow precise control over perspective distortion and are widely used by professional architectural photographers. They are ideal when you want to keep vertical lines perfectly straight or achieve accurate perspective rendering in architectural images.
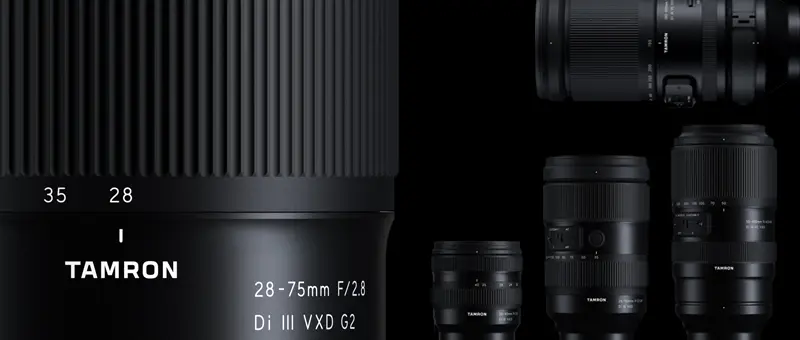
Recommended TAMRON lenses for architectural photography
Here we introduce lenses that make it easy to compose shots even in confined spaces by taking advantage of a wide angle of view, as well as lenses with bright maximum apertures that perform well in low-light conditions and are suitable for nighttime architectural photography.
Exploring the world of architectural photography through perspective and lenses
Architectural photography is not simply about pressing the shutter; doing so alone cannot fully convey a building’s true appeal. By understanding and applying the fundamental elements of composition, light, and lens choice in real shooting situations, your images gain clarity and strength, bringing out the beauty and presence of the architecture itself.
Even if things do not go perfectly at first, your perspective will gradually evolve with each shoot. You will become more sensitive to light, and compositional choices will begin to come naturally. Capture the charm of architecture through your own eyes and express it in your photographs.

Lens Featured in this Impression
-
-
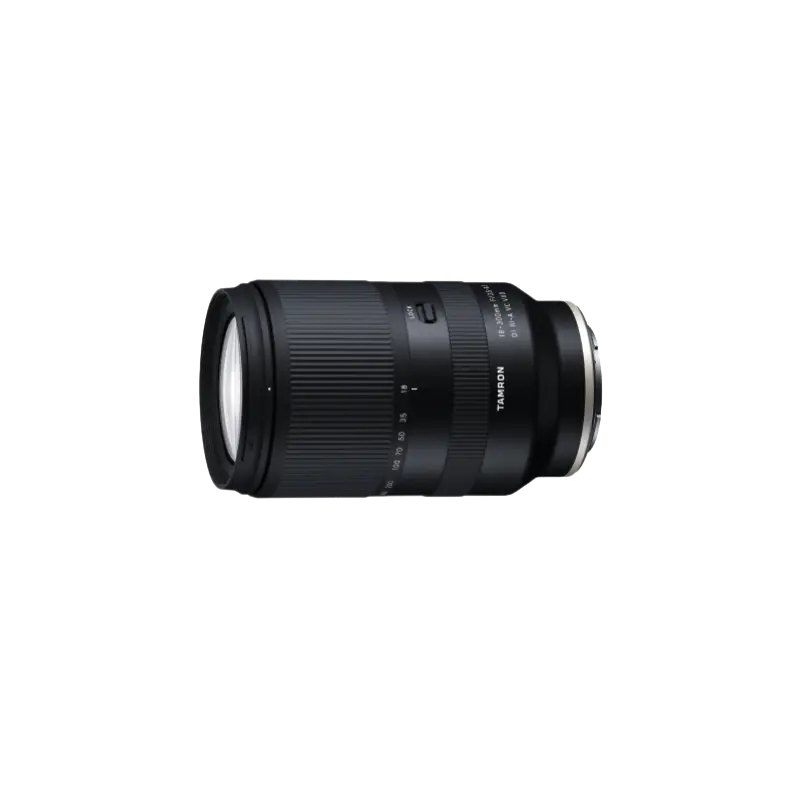
18-300mm F/3.5-6.3 Di III-A VC VXD b061(Model )
The 18-300mm F/3.5-6.3 Di III-A VC VXD (Model B061) achieves 16.6x zoom and is equipped with the VXD for a quiet and agile AF drive. The optical construction includes several special lens elements, specifically four LD (Low Dispersion) and three hybrid aspherical lens elements. These elements help to produce clear, sharp images from the center to the corners and deliver top-level image quality in its class. It is enabled close-up shooting and is equipped with the VC system. The 18-300mm F/3.5-6.3 makes photography more fun because you can use it in an unlimited number of situations. It’s so versatile, it will inspire you to push your creativity further and further.
-
-
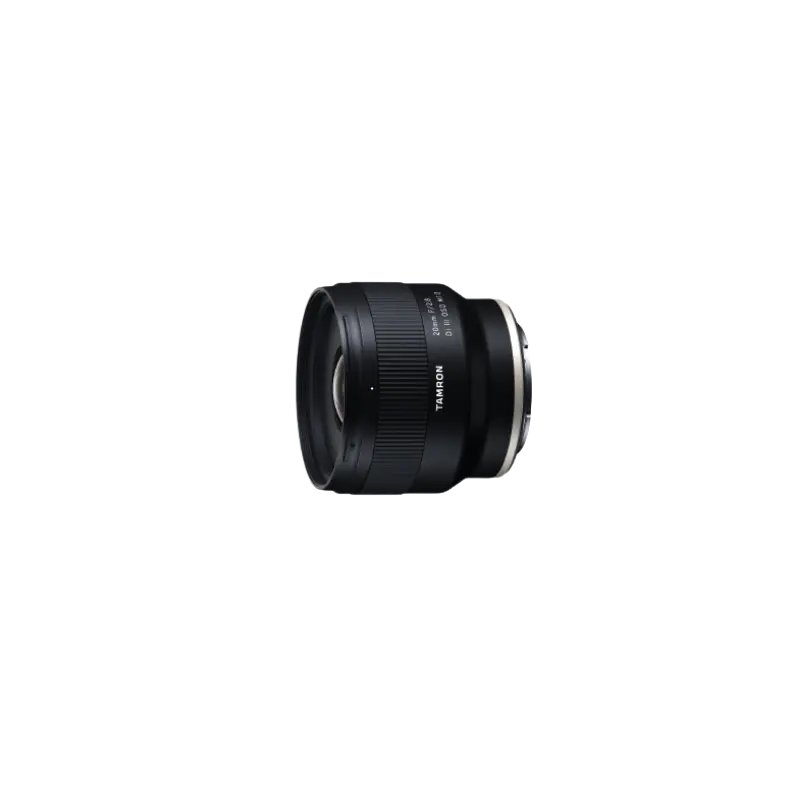
20mm F/2.8 Di III OSD M1:2 f050(Model )
The 20mm F/2.8 Di III OSD M1:2 (Model F050) is a 20mm fixed focal lens featuring F/2.8 and high close-up shooting, allowing you to enjoy ultra wide-angle photography in earnest. With a MOD (Minimum Object Distance) of 0.11m, you can enjoy the world of ultra wide-angle photography that you have never experienced before.
-
-
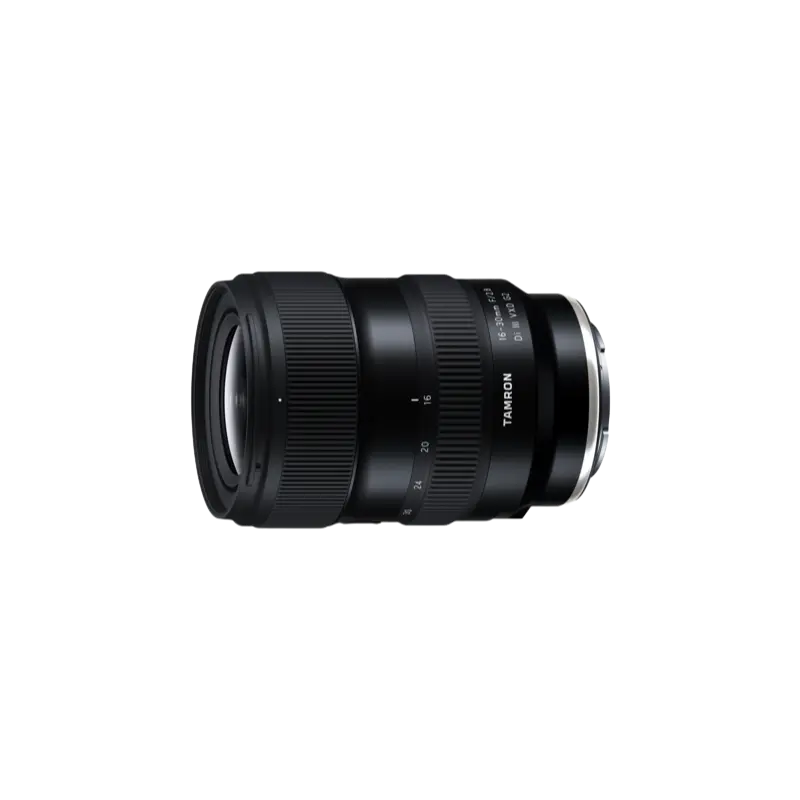
16-30mm F/2.8 Di III VXD G2 a064(Model )
Expanding upon the success of the highly acclaimed TAMRON 17-28mm F/2.8 Di III RXD (Model A046), the G2, 2nd-generation emerges as an advanced 16-30mm F/2.8 Di III VXD G2 (Model A064). While broadening the zoom range, it maintains a compact, lightweight design and delivers exceptional image quality. In addition, it features improved autofocus performance and has been updated to the latest lens design, enhancing overall operability. It’s also compatible with TAMRON Lens Utility™, allowing you to customize practical functions for both photography and videography. Retaining the mobility and versatility of its predecessor, the 16-30mm F2.8 G2 unlocks new creative possibilities. Experience the unique creative expressions that only a fast, ultra wide-angle lens can offer.
-
-
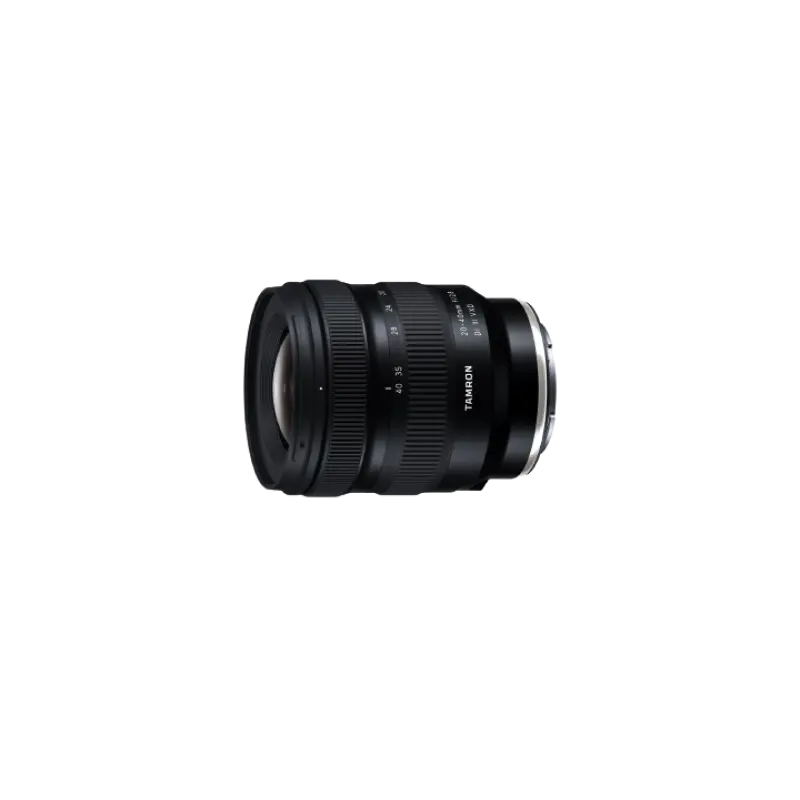
20-40mm F/2.8 Di III VXD a062(Model )
The 20-40mm F/2.8 Di III VXD (Model A062) is a new large-aperture standard zoom lens that thoroughly pursues portability. While covering the range from the ultra-wide angle of 20mm to the standard range of 40mm, it is the smallest and lightest in its class. It also offers high image quality throughout the entire zoom range, making it useful not only for still image shooting but also for video recording such as vlogging. The VXD, which is quiet and agile, achieves high-speed, high-precision autofocusing. It is a new, unprecedented large-aperture standard zoom lens that allows users to easily enjoy taking out and shooting both still and video.
-
-
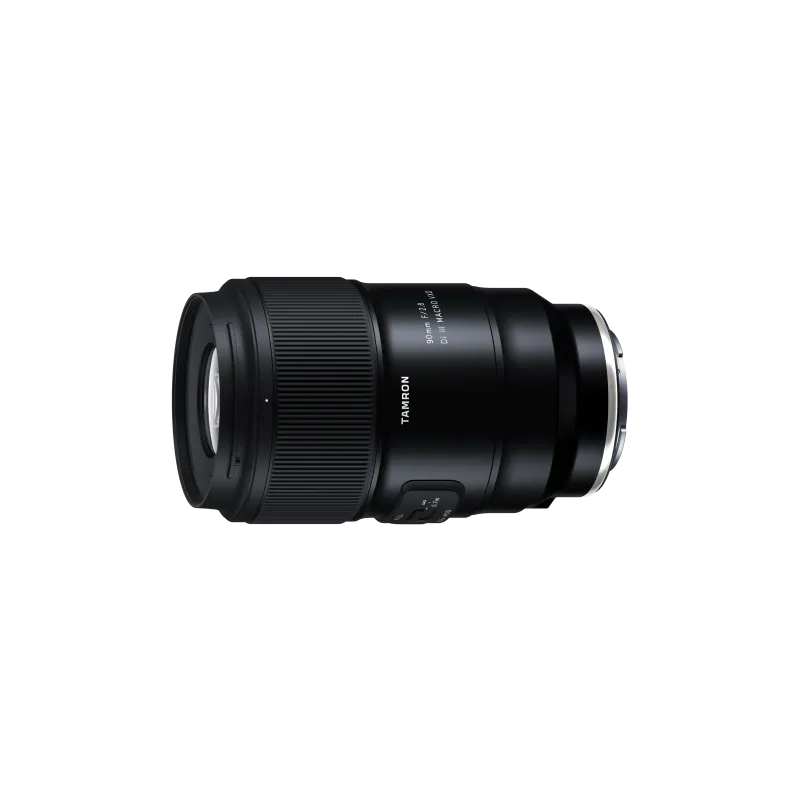
90mm F/2.8 Di III MACRO VXD f072(Model )
The 90mm F/2.8 Di III MACRO VXD (Model F072) is the mirrorless version of the TAMRON 90mm macro lens, beloved for many years. It offers outstanding resolution and optical performance, featuring TAMRON’s first 12-blade circular aperture for stunning bokeh and starburst effects. Its lightweight, compact design ensures easy portability, and the new hood with sliding window simplifies filter use. The lens is also compatible with TAMRON Lens Utility™ and has high-speed, high-precision AF, expanding possibilities for photography and videography. This lens blends TAMRON's legacy of brilliance with advanced technology, marking a new chapter in the 90mm macro lens history.