November 29, 2024
What is portrait photography? How to take good portraits and tips for choosing the right lens
What is portrait photography? How to take good portraits and tips for choosing the right lens
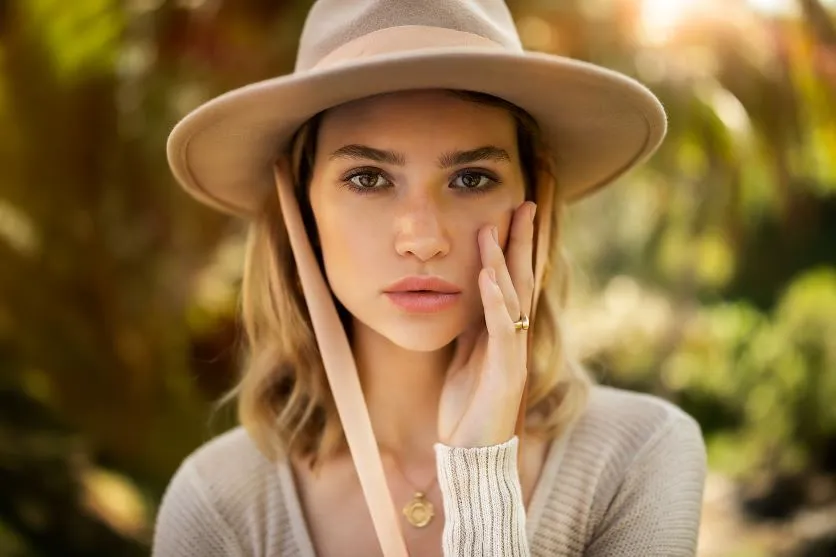

Portrait photography may seem simple, but it is a very deep, fun, and difficult subject. However, by following a few key points, even beginners can take attractive portraits. In this article, we will explain the basics of portrait photography, from lens selection to the use of light and composition.
What is Portrait?
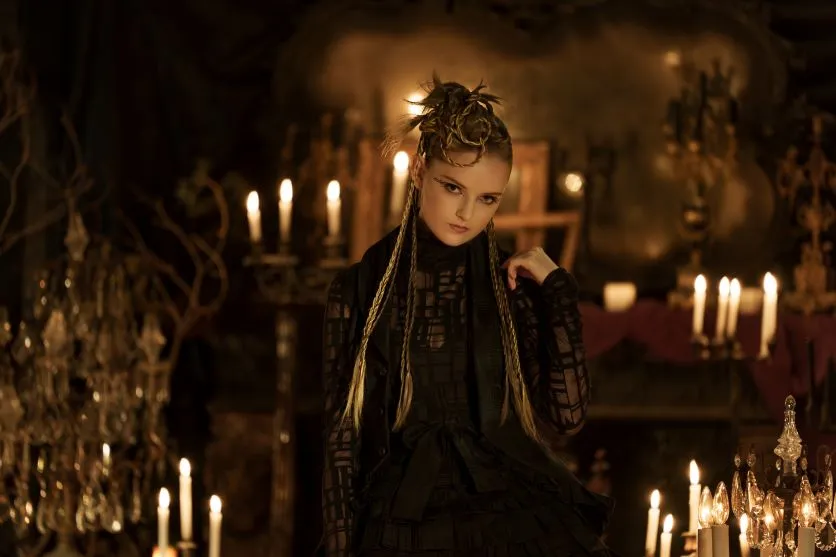
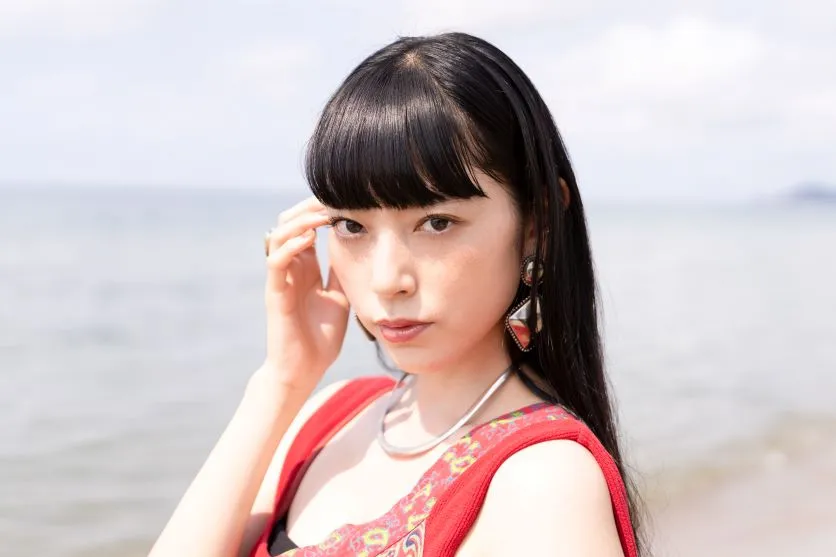
The word “portrait” means “portrait picture” in English. In the field of photography, it refers mainly to photographs in which the subject is a person. Not only photographs of models, but also photos of family and friends taken on a daily basis can be considered a type of fine portrait photography.
Differences from Snapshots
There are snapshots as well as portraits of people. What are the differences?
In portrait photography, the model's posing, and composition are usually decided in advance. It takes the form of a small-scale photo session, so to speak.
Snapshots, on the other hand, are also called “quick shots,” and are taken in an impromptu manner of capturing a momentary scene encountered on the street. The subjects are not limited to people, but also include landscapes, buildings, and a wide range of other subjects.
Therefore, portraits can be considered “planned” portraits, while snaps are “impromptu” portraits.
Tips for taking good portraits
There are several important factors that can help you improve your portrait photography. Here are some basic tips for taking beautiful portraits.
Selecting an appropriate lens
In portrait photography, it is important to express a sense of distance and relationship with the subject. In this regard, the choice of lens will greatly affect the atmosphere of your work.
First, a wide-angle lens with a focal length of approximately 35 mm or less is suitable for expressing contrast and storytelling between the background/landscape and the subject. Since perspective is emphasized, this lens can easily express depth and a sense of three-dimensionality.
On the other hand, standard lenses with a focal length of approximately 35mm to 50mm are recommended for beginners because they easily capture people with a moderate blur and natural angle of view.
A telephoto lens with a focal length of about 85 mm or more can also be used to crop the subject in a landscape and bring out the details of facial expressions. The smooth bokeh effect on the background and the unique perspective created by the compression effect can also be used to emphasize the impression of the subject.
As you can see, different focal lengths are good at different types of expression, so be sure to select a lens according to the image you want to capture.
There are two main types of lenses: zoom lenses and single focal length lenses.
A zoom lens covers a wide range of focal lengths from wide-angle to telephoto, allowing you to use a single lens for a variety of expressions while changing the angle of view.
On the other hand, many single focal length lenses have a small f-number, making it easy to take pictures that take advantage of blur, and they are also popular for portrait photography. Because the focal length cannot be changed, the photographer himself needs to move in relation to the subject, but it is a good opportunity to learn to feel the distance between the subject and the camera.
Adjusting exposure
Exposure greatly affects the impression of a photograph, not only in portrait photography. Here are the main settings.
Shooting mode
When shooting portraits, it is a good idea to use aperture priority mode. In this mode, the shutter speed is automatically adjusted for proper exposure by setting the F-number.
By adjusting the f-number, you can control the amount of blur in the background, allowing you to take portraits in which the subject stands out, which is typical of SLR cameras.
Once you become accustomed to taking pictures, you may want to try the manual mode. By controlling exposure factors yourself, you will be able to express yourself in a more deliberate manner.
F-number
Setting a F-number close to the maximum aperture, such as F2 to F4, allows you to obtain a large background blur. This allows the impression of the subject to be emphasized.
On the other hand, if you are shooting multiple people or if you want to capture the entire background, you should stop down to a setting between F5.6 and F11. This will produce a sharp image in which a wider area appears to be in focus.
Shutter speed
Shutter speed is a factor that affects not only exposure but also camera shake and subject blur. Although it depends on the focal length, generally, 1/60 sec. to 1/250 sec. will make it easier to capture even slightly moving subjects without blurring.
However, the appropriate value will vary depending on the lens used, the subject's movement, and the brightness of the shooting environment, so it is important to adjust according to the situation.
ISO sensitivity
ISO sensitivity is especially important when shooting in environments with insufficient light. First, leave it to the auto setting and adjust it accordingly while observing the shooting results.
If you are shooting outdoors on a sunny day, a low ISO sensitivity of around ISO 100 to ISO 400 will provide sufficient brightness.
On the other hand, when shooting on cloudy days or indoors, a slightly higher ISO sensitivity, such as ISO 1600 to ISO 3200, will make it easier to take brighter pictures. At the same time, it is important to note that high ISO sensitivity leads to increased noise (roughness).
Exposure compensation can also be used to create brighter photos. Exposure compensation can also be used for more intentional expression. For example, you can create a bright and festive atmosphere by daring to overexpose (high key) the photo.
Know the typical composition methods
Knowing the basic compositions will help you take well-balanced photos smoothly. Here are some typical compositions. Using these compositions as a starting point, it is a good idea to add your own twist to them.
Hinomaru composition
Hinomaru composition is an extremely simple composition in which the subject is placed in the center of the picture. It is suitable for powerful and concise expression, and can make a strong impression on the subject.
However, it should be used with caution, as it tends to give a mediocre impression when used easily. By reducing the amount of information in the background and keeping it simple, the subject can be brought out more effectively. In portraits in particular, this composition is ideal for focusing on the subject's expression and eyes.
Rule of Thirds Composition
The Rule of Thirds composition divides the image into 3 x 3 sections, and places the subject or subtopics around the intersections of the sections. It is easy to achieve a balance between the subject and the background, resulting in a visually stable photograph.
For example, by placing the person in the left and right thirds of the picture and leaving a blank space, a balanced composition between the person and the background can be achieved.
Diagonal composition
Diagonal composition is a composition in which the subject and background are placed on the diagonal of the picture plane. It is suitable for expressing movement, depth, and dynamism.
By placing the pose and gaze of the person from the lower left to the upper right of the screen, or by arranging background elements (roads, buildings, etc.) on the diagonal, you can give a dynamic impression to the photo.
Control the light
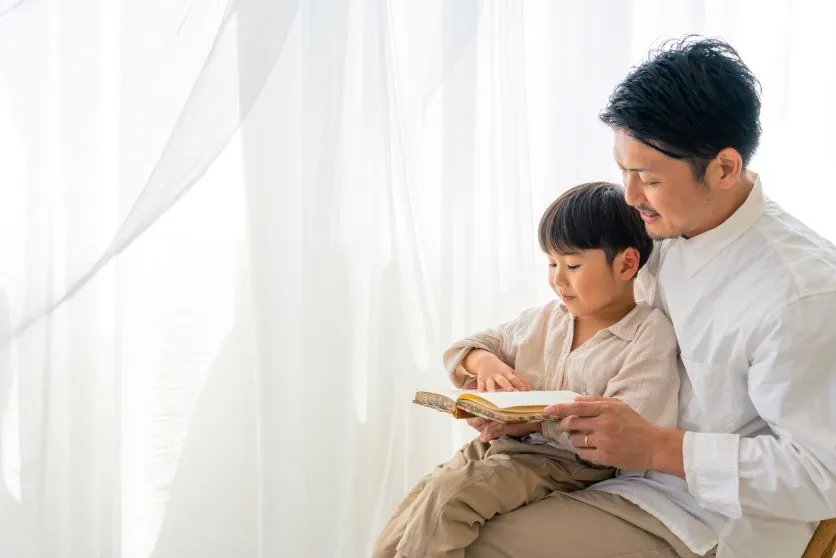
The impression given by a person's expression depends greatly on the texture and intensity of light and the balance of shading. Let's take a closer look at the direction and quality of light and lighting.
Direction of light
There are three main types of light direction: forward light, backlight, and side light.
Forward light is the condition in which the light hits the subject from the front, clearly capturing the subject's facial expressions. However, it is important to note that the model's eyes are likely to be closed and the image may appear flat.
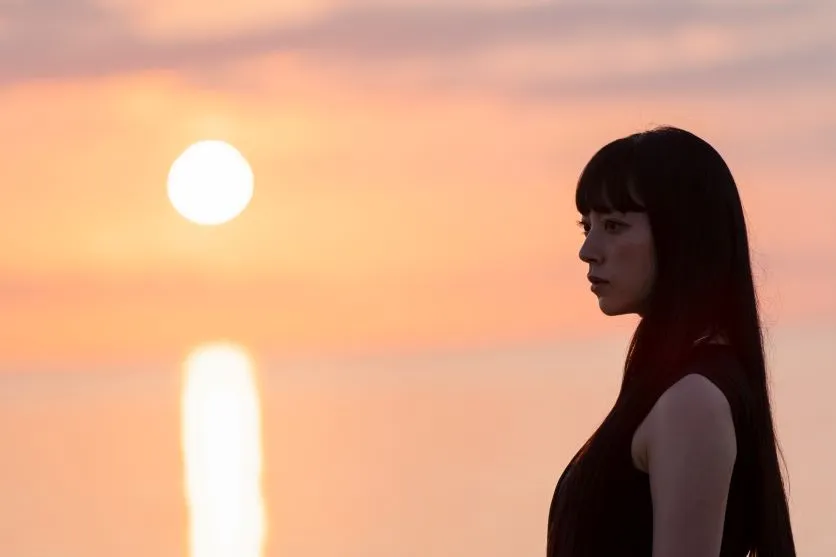
Conversely, with backlighting, the light hits the subject from behind. Although facial expressions tend to be in shadow, it is possible to create an emotional scene or, by adjusting exposure, create an atmosphere as if the subject is enveloped in soft light.
Side light, on the other hand, is light shining from the side. It emphasizes the three-dimensionality of facial expressions and shadows. It is suitable for creating a crisp expression and a cool impression.
First of all, try to be aware of side light and forward light, which will make it easier to capture facial expressions.
Quality of light
Light quality can be broadly described as hard light (hard light) and soft light (soft light).
Hard light comes from strong light sources such as sunlight and has a clear contrast between light and dark. It can capture facial expressions clearly, but it should be noted that it tends to produce strong shadows.
Soft light is natural light on cloudy days or diffused artificial light, which gives an overall soft impression. Contrast is low, but it is suitable for expressing gentleness and delicacy.
It is important to keep in mind that the impression changes not only with the subject but also with the texture of such light.
Intensity and balance of light
In more serious photography, control of light intensity and balance is important. This section describes basic lighting knowledge and how to use it.
Main light source and auxiliary light source:
The main light source (main light) is the main light source for the subject and determines the overall brightness and shading.
Auxiliary light sources (fill light, fill-in) are used to soften the shadows created by the main light source or to emphasize certain parts of the subject. By adjusting the balance between these two, you can create a three-dimensional effect and atmosphere.
Next, let's review the typical lighting methods.
Three-point lighting method:
This is a basic lighting technique widely used in portrait photography. It uses three light sources: a main light, a fill-in, and a backlight placed behind the subject. The backlight has the effect of defining the boundary between the subject and the background and emphasizing outlines.
Rembrandt Lighting/Rembrandt Lighting:
This technique places a light source so that a triangle of light falls on one side of the subject's face. This creates dramatic shadows and a three-dimensional impression in the portrait.
Butterfly Lighting/Butterfly Lighting:
This technique is named after the butterfly-like shadow under the subject's nose that is created by lighting from above the front of the subject. It is often used in beauty and fashion photography to minimize facial irregularities and create a flat impression.
Loop Lighting/Loop Lighting:
This method places the main light 45 degrees above the side of the subject's face. A small shadow is created next to the nose, creating a natural three-dimensional effect. This is a versatile lighting method that is easy to use in many situations.
These four techniques have been introduced above, but these principles can also be applied when taking advantage of natural light. For example, a reflector can be used to create supplemental light when shooting near a window, or curtains can be used to diffuse light to obtain soft light.
Catchlights are another technique often used. By creating a small reflection of light (catch light) in the subject's eyes, you can create a lively impression. It is important to adjust the position and size of the light source to create a natural and attractive catchlight.
Take advantage of background blur
Background bokeh adds depth and a sense of three-dimensionality to a portrait, bringing out the charm of the subject. When properly utilized, it can make the subject's expression and silhouette stand out even more.
To effectively create background bokeh, check the following three points.
(1) F-number
Setting the F-number (aperture) to a value close to maximum (small F-number) will result in a shallower depth of field and greater background blur. In portrait photography, a wide aperture such as F1.4 to F2.8 is often used.
(2) Focal length
Depth of field changes depending on the focal length of the lens, and the area that appears to be in focus differs.
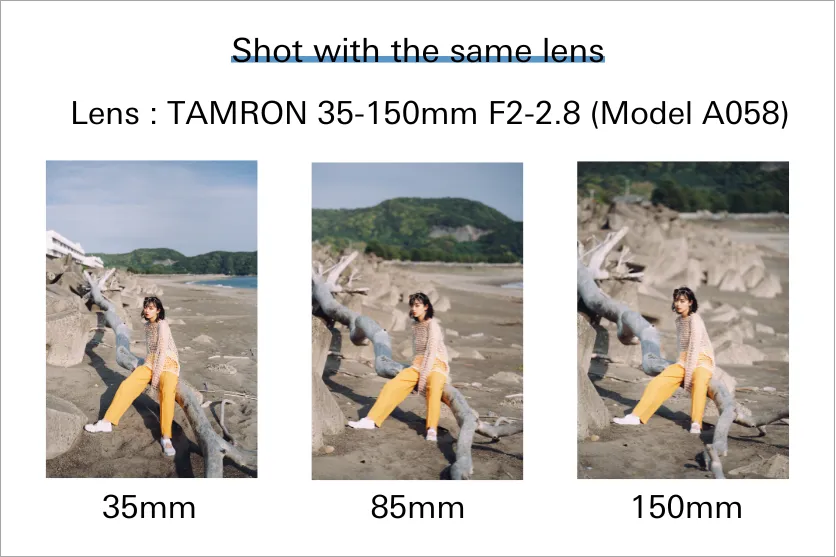
For example, here is a comparison of the same position at different focal lengths.
At 35mm, even the background appears to be in focus, and you can clearly see the situation in which the subject is placed.
On the other hand, at 85mm, the blur is larger, and the angle of view is narrower, which leads the viewer's eye to the subject more.
At 150mm, the blur is even larger, and the angle of view is narrower. The compression effect of a telephoto lens also increases the power of the background, giving the impression that the subject is more attractive.
As you can see, the impression of the subject varies greatly depending on the focal length, so it is important to select the appropriate focal length according to the image you want to capture.
Distance between subject and background
The greater the distance between the subject and the background, the greater the background blur will be. Consider this when choosing a shooting location.
However, if the background blur is too large, it may be difficult to convey the ambience of the surrounding environment or location. Keep in mind the appropriate amount of background blur, depending on the purpose of the shoot and the atmosphere you want to express.
Build a relationship of trust with the person being photographed
Building a relationship of trust with the person (model) to be photographed will help elicit natural expressions and gestures.
To achieve this, communication through dialogue is essential. Conversation before and during the shoot and creating a relaxed atmosphere will relieve tension on the part of the person being photographed and bring out their natural expressions. It is also important to understand the model's personality and charm, and to explore poses and expressions that make the most of them together. Share the image and purpose of the shoot in advance, and incorporate the model's opinions as you proceed with the shoot.
For first-time portrait shoots, using a familiar person such as a friend or family member as a model will make it easier to draw out natural expressions and gestures while you yourself are relaxed.
Changing impressions with the location of the shoot
The background is an element that not only emphasizes the impression of the person or conveys the atmosphere of the location, but can also add a sense of storytelling. Choose a location that harmonizes with the subject and matches the personality and fashion of the model.
For example, using a seasonal background or an urban cityscape can enhance the beauty of your subject and give them a stylish feel. Otherwise, take advantage of the characteristics of natural light, especially in the morning and evening blue hour and golden hour, to create an emotional and beautifully lit shot.
Try shooting in various locations while also taking into account the balance of background blur, angle of view, and colors.
[By scene] Tips for portrait photography
Here are some tips for shooting in various scenes.
Indoor
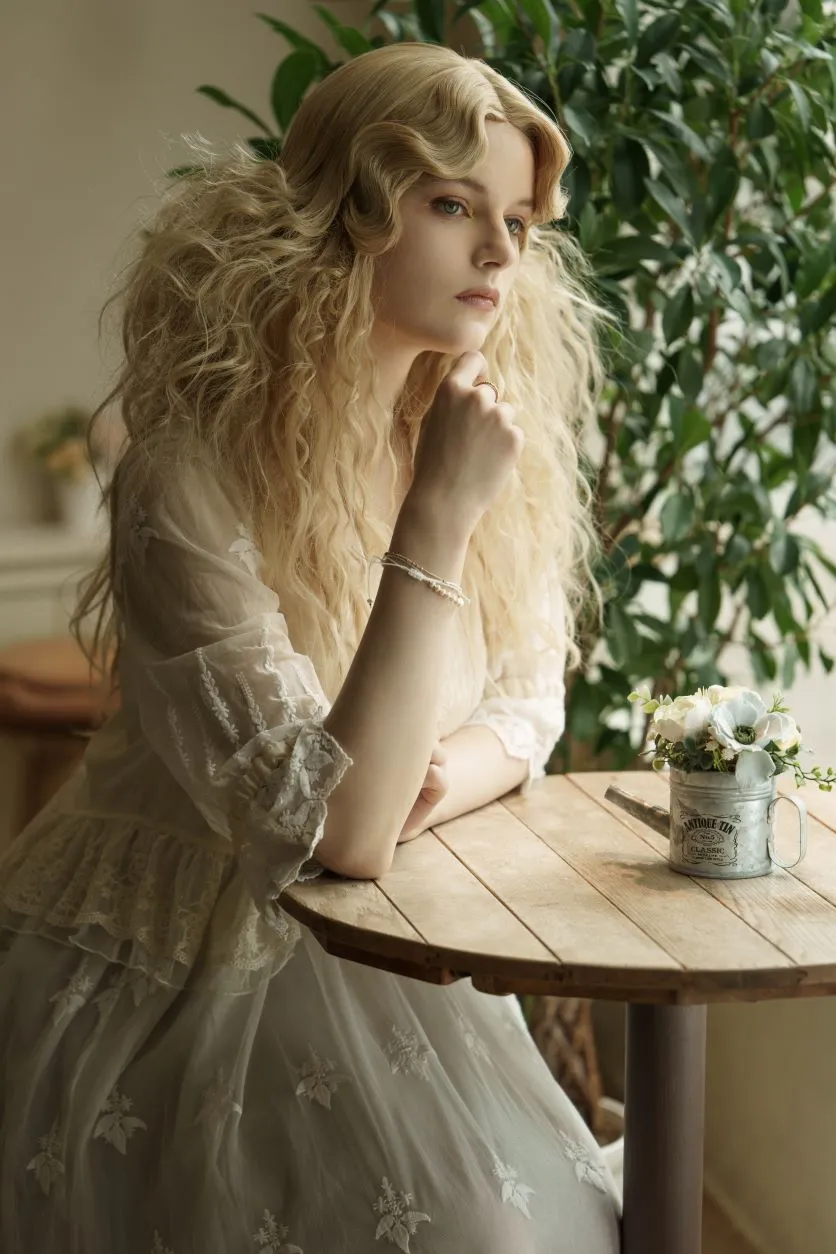
Light is often insufficient for indoor portrait photography. Therefore, the key is to make good use of natural light near a window. Shooting close to a window makes it easier to obtain soft natural light, which creates beautiful shadows on the subject.
If the amount of light is still insufficient, increase the ISO sensitivity or add exposure compensation. If necessary, use an auxiliary light source such as an LED light for more authentic photography.
In addition, a lens with high close-up capability is useful when shooting in a small room. Depending on the location, a wide-angle lens can also be used to make a space appear larger.
Seasonal flowers and grasses
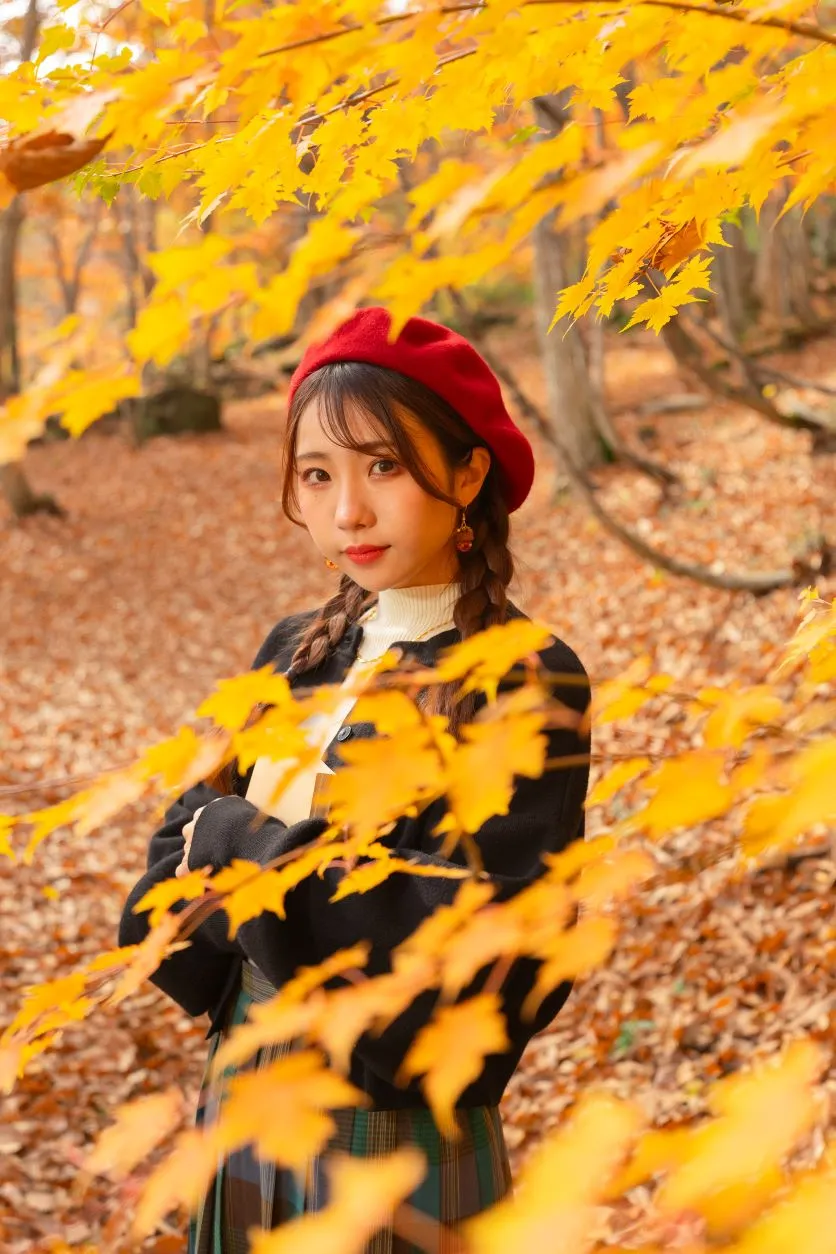
Portraits with seasonal flowers and grasses in the background are ideal for creating a gorgeous and emotional atmosphere. In addition to incorporating flowers in the background, you can also create a soft atmosphere and depth by placing flowers in front of the subject and blurring them greatly.
In addition to forward or side lighting, backlighting with flowers in the background can create a fantastic atmosphere and broaden the range of expression.
Another factor to consider is the time of day when shooting. Using the soft light of morning dew or dusk will create a warm and inviting scene.
Ocean or sandy beach
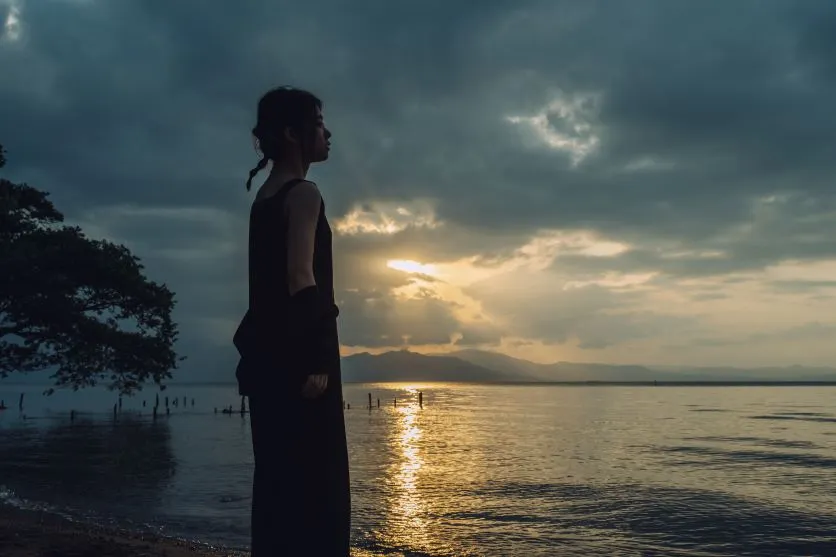
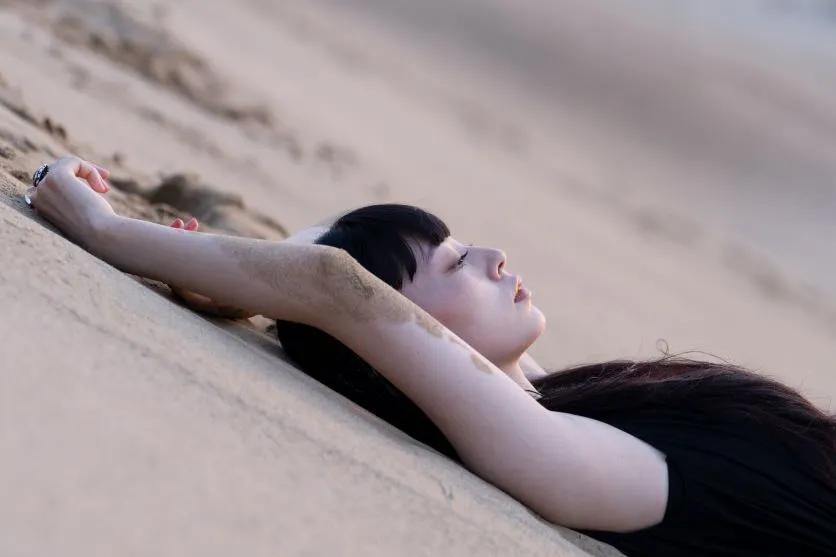
Portrait photography in the open ocean or on a sandy beach is perfect for fresh, clear photos and an emotional atmosphere.
On the other hand, the background tends to be simple, so the key is to be creative in composition. First, imagine a three-part composition, arranging the sea and sky or the beach and the subject, which will make it easier to take well-balanced photos.
If you take pictures at sunrise and sunset, you will be able to take dramatic pictures that make the most of the silhouettes of your subjects and the striking colors of the sky.
In addition, using the reflected light from the beach or ocean surface in the background will create a sparkling, gorgeous, and beautiful finish. Shooting from a low angle is also recommended for photos with a sense of depth.
Rain
Since the amount of light tends to be insufficient on rainy days, use a slower shutter speed and adjust ISO sensitivity and exposure compensation to ensure brightness.
Using umbrellas and water droplets is also an effective way to express the unique characteristics of rainy days. Using transparent plastic umbrellas can create a soft, magical atmosphere and accentuate the image in the picture.
Another interesting way of expression is to use water droplets on the lens as a foreground blur, or to use reflections on the wet ground after rain. Combined with streetlights or night scenes, these photos can be particularly impressive.
Buildings and cityscapes
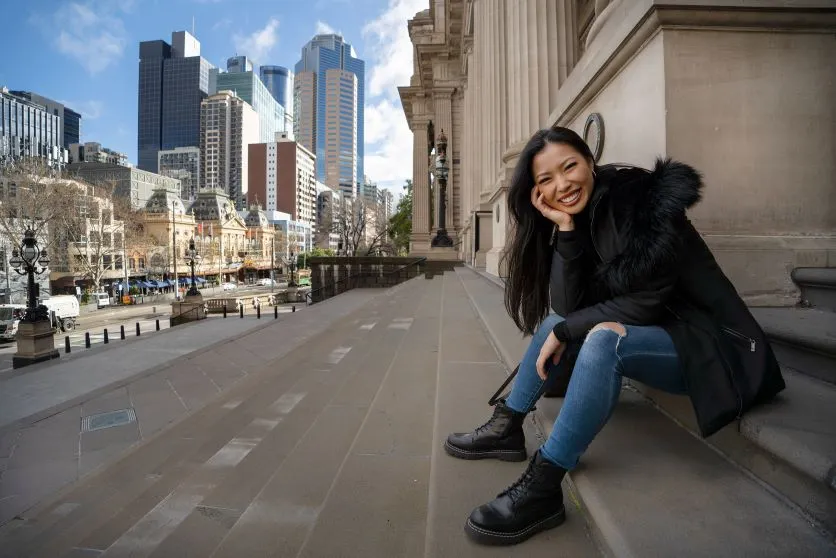
Shooting in urban areas makes for modern, stylish portraits. Using buildings and cityscapes as a background can help express an urban atmosphere, the subject's personality, and lifestyle.
When photographing buildings and cityscapes, compositions that take advantage of the lines and shapes of the buildings are effective. For example, you can use the vertical lines of skyscrapers to accentuate the silhouette of your subject, or create a composition with depth in the streets. Using a wide-angle lens can also emphasize the dynamic nature of the buildings and streetscape in the background.
In addition to daytime, nighttime photography is also an attractive subject. Utilizing the light from neon signs and street lamps can create a colorful and dramatic atmosphere.
As a precaution, shooting in urban areas may require a permit for some locations. It is also important to take photos at the right time in busy areas. Be considerate of your surroundings and enjoy shooting with good manners.
How to choose the right lens for portrait photography
Let's take a closer look at the characteristics of lenses suitable for portrait photography and how to select the right lens.
Maximum aperture
A lens with a small maximum aperture F-number makes it easier to take brighter pictures even indoors or on cloudy days when light levels are insufficient.
Another attraction of lenses with small maximum aperture f-numbers is the beautiful bokeh effect. The background blends smoothly and naturally with the subject, allowing the subject to stand out beautifully.
Focal length
As mentioned earlier, the focal length changes the impression of the portrait.
For example, at 35mm, you can capture the model's entire body and background, while at 85mm, you can get a moderate amount of bokeh along with the model's upper body and bust up. Furthermore, at 135mm, you can get a close-up of the model's face and blur in front and behind the model.
Covering the range from 35mm to 150mm with a single lens allows you to shoot various variations of portraits smoothly and without lens changes.
Resolving performance
If even the texture of facial expressions, skin, hair, etc. can be captured delicately, the charm of the subject can be firmly captured in the photograph. For this reason, it is recommended to use a lens with high resolution performance. It is also advisable to check whether the image that matches your image can be obtained by checking examples of photographs and reviews.
Capability of close-up photography
Close-up shots that get close to the subject's expression and details are one of the most enjoyable aspects of portraiture. Choosing a lens with a short minimum focus distance will allow you to get closer to your subject and expand your range of expression. A lens with good close-up shooting ability is especially useful when shooting in a small room.
However, in close-up photography, the photographer is often reflected in the eyes of the model, so care should be taken in this regard unless the lens is to be used for visual effect.
Lightness and compactness
Portrait photography requires the photographer to communicate with the model in a variety of positions and angles. A lightweight and compact lens will reduce the physical burden and make it easier to shoot using footwork.
Smoothness and accuracy of auto focus (AF)
In order to quickly respond to changes in the subject's facial expressions and movements, make sure that the autofocusing system can match smoothly and accurately capture people.
A lens with high AF performance will allow you to continue shooting smoothly in such situations.
Interchangeable Image Stabilization
Tamron's in-lens image stabilization system allows photographers to take crisp, clear pictures with minimal camera shake even at slow shutter speeds. The effectiveness of image stabilization is particularly enhanced in low-light environments and when using telephoto lenses.
Knowing how to choose a lens and tips for shooting, let's take beautiful portraits!
To take beautiful portraits, in addition to basic exposure settings, it is important to choose the right lens and focal length, and to establish a good relationship with the model as the subject.
The most important thing, however, is to enjoy shooting. Don't be overly concerned with the technical aspects, but be conscious of bringing out the charm of your subject and capturing the emotion and atmosphere of the moment.
Based on the information presented in this article, we encourage you to try it out in your actual shooting.

Lens Featured in this Impression
-
-
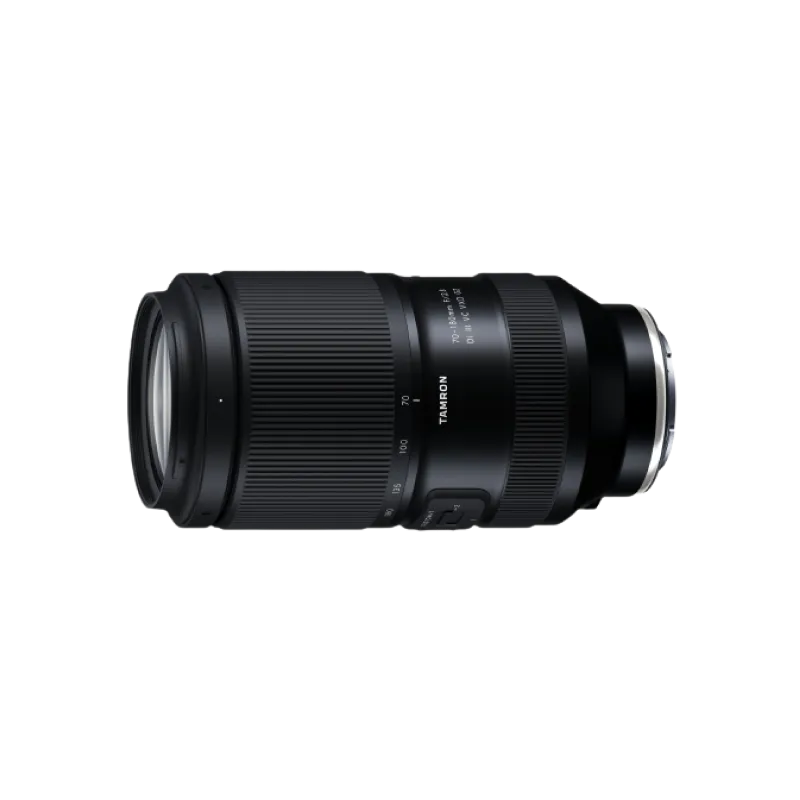
70-180mm F/2.8 Di III VC VXD G2 a065(Model )
70-180mm F/2.8 Di III VC VXD G2 (Model A065) has evolved to G2 level.This is the world’s smallest and lightest, fast-aperture telephoto zoom lens for Sony E-mount and Nikon Z mount with astounding portability and superb image quality.
-
-
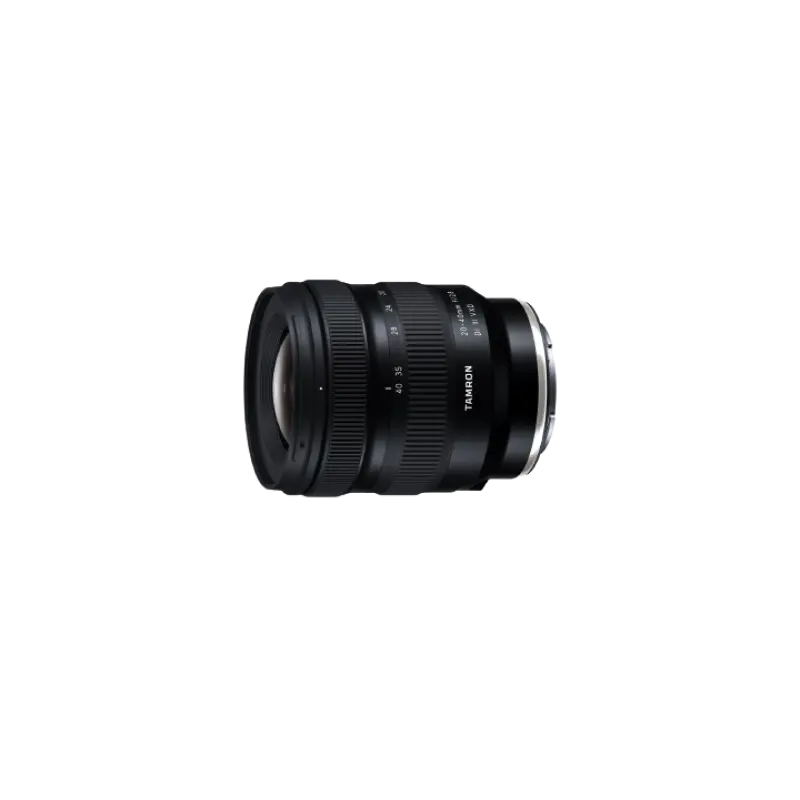
20-40mm F/2.8 Di III VXD a062(Model )
The 20-40mm F/2.8 Di III VXD (Model A062) is a new large-aperture standard zoom lens that thoroughly pursues portability. While covering the range from the ultra-wide angle of 20mm to the standard range of 40mm, it is the smallest and lightest in its class. It also offers high image quality throughout the entire zoom range, making it useful not only for still image shooting but also for video recording such as vlogging. The VXD, which is quiet and agile, achieves high-speed, high-precision autofocusing. It is a new, unprecedented large-aperture standard zoom lens that allows users to easily enjoy taking out and shooting both still and video.
-
-
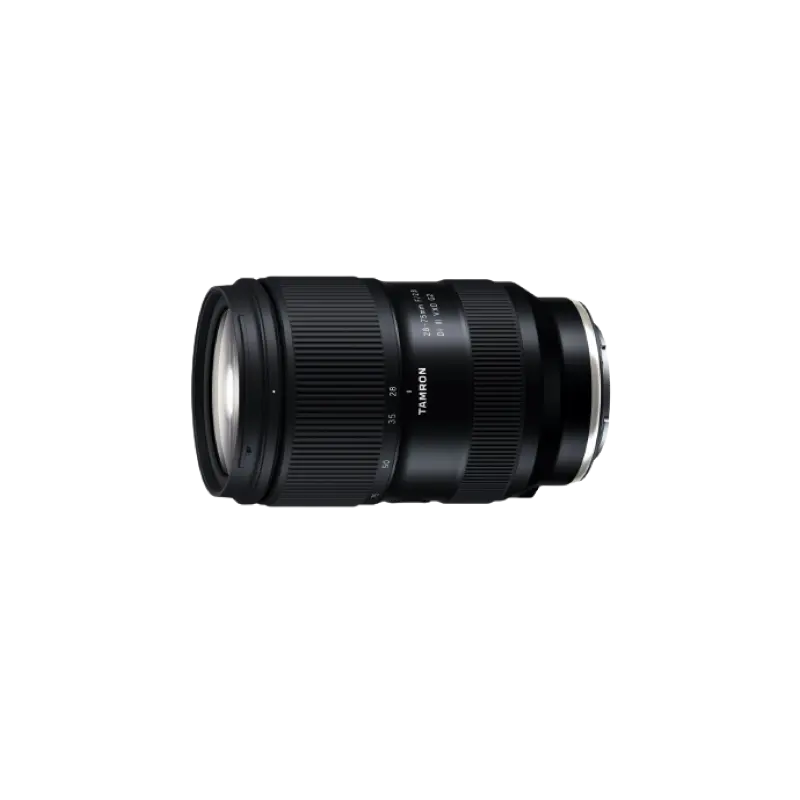
28-75mm F/2.8 Di III VXD G2 a063(Model )
Product Page | 28-75mm F/2.8 Di III VXD G2 (Model A063) is the second-generation fast-aperture standard zoom lens for Sony and Nikon full-frame mirrorless cameras, offering significantly improved optical and autofocus performance and new function customization.
-
-
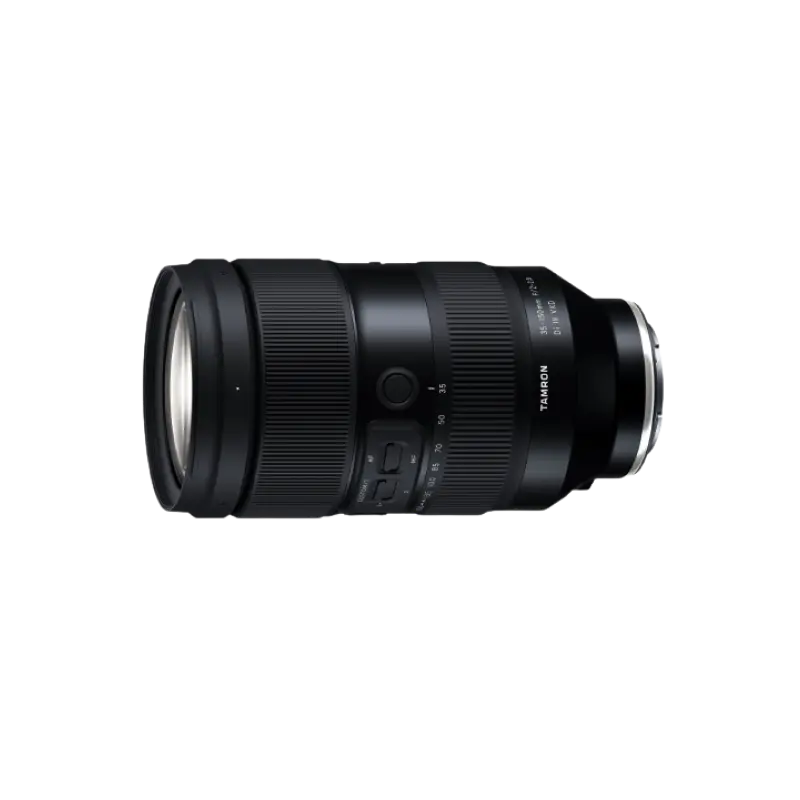
35-150mm F/2-2.8 Di III VXD a058(Model )
The 35-150mm F/2-2.8 Di III VXD (Model A058) is a high resolution travel zoom lens that covers everything from the 35mm wide angle to the 150mm telephoto focal length, the first zoom lens achieving an aperture of F2 at the wide angle end. It has a groundbreaking fast-aperture and utilizes the linear motor focus mechanism VXD (Voice-coil eXtreme-torque Drive), thereby achieving high speed, high precision autofocusing. The innovative lens design enabled us to greatly improve the lens's grip and functionality. The software, developed in-house, enables to easily customize functions and to update firmware.
-
-
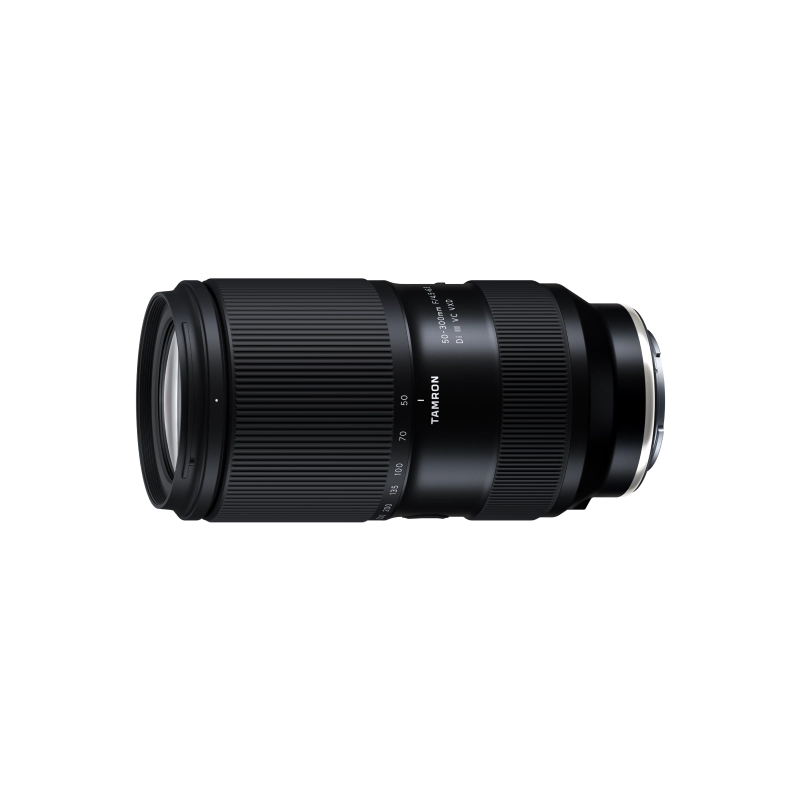
50-300mm F/4.5-6.3 Di III VC VXD a069(Model )
50-300mm F/4.5-6.3 Di III VC VXD (Model A069) is a 6x telephoto zoom lens for Sony E-mount that delivers outstanding convenience and image quality. Discover the groundbreaking capabilities of a 300mm telephoto zoom that starts from 50mm at the wide end.

